Adding an attachment to a permit allows users to access construction plans or other documents when conducting an inspection on their mobile device. This feature saves time and removes the need to carry around extra paper documents. Users must ensure that their mobile device is equipped with the necessary apps to open attachments in different file formats. For example, a PDF attachment requires a PDF viewing app.
This tutorial shows you two ways of attaching documents to a permit – from the Inspection Screen or from the Permit Editor. Attachments are available on both screens regardless of where they were attached.
Adding an Attachment from the Inspection Screen
1. Log into CityReporter web using your city code, username, and password. Select the Permits & Construction module and double click on the permit that you would like to add an attachment to.
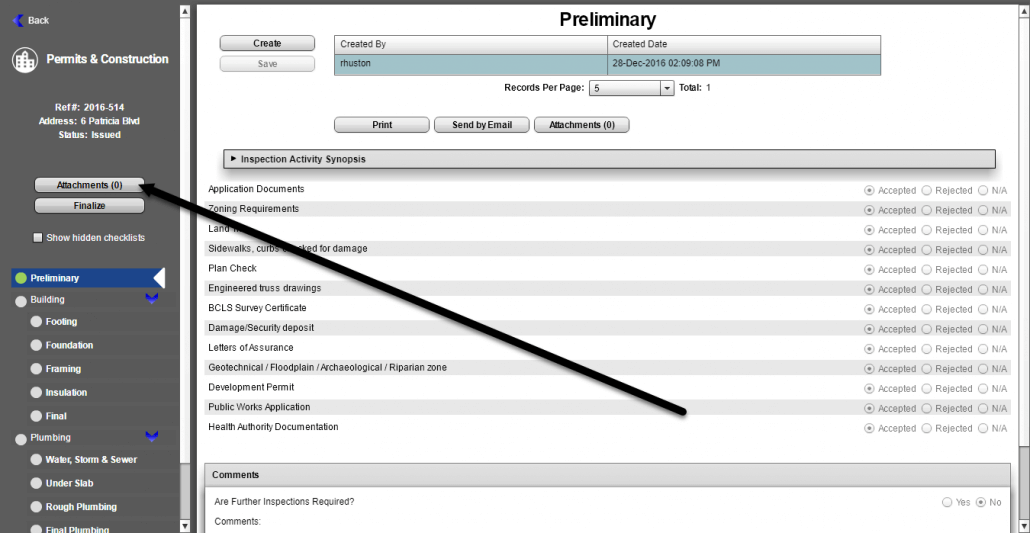
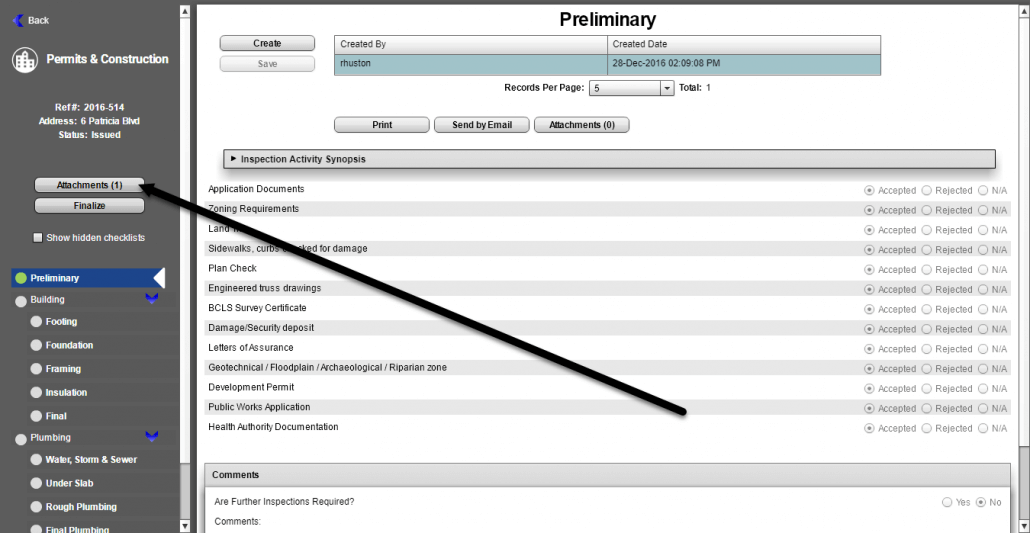
2. Once in the permit, click on the Attachments button on the left side of the screen.
3. Next, select the Add New… button.
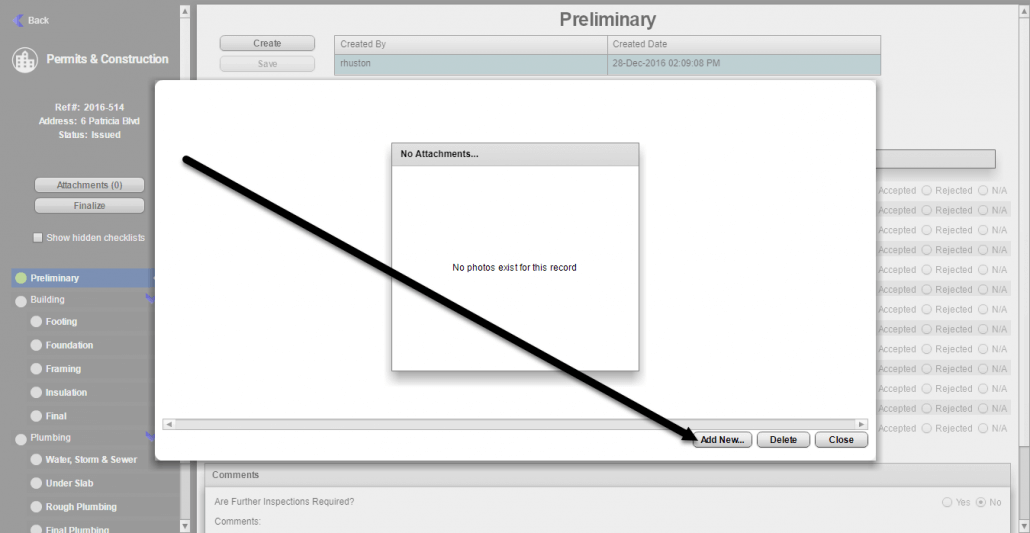
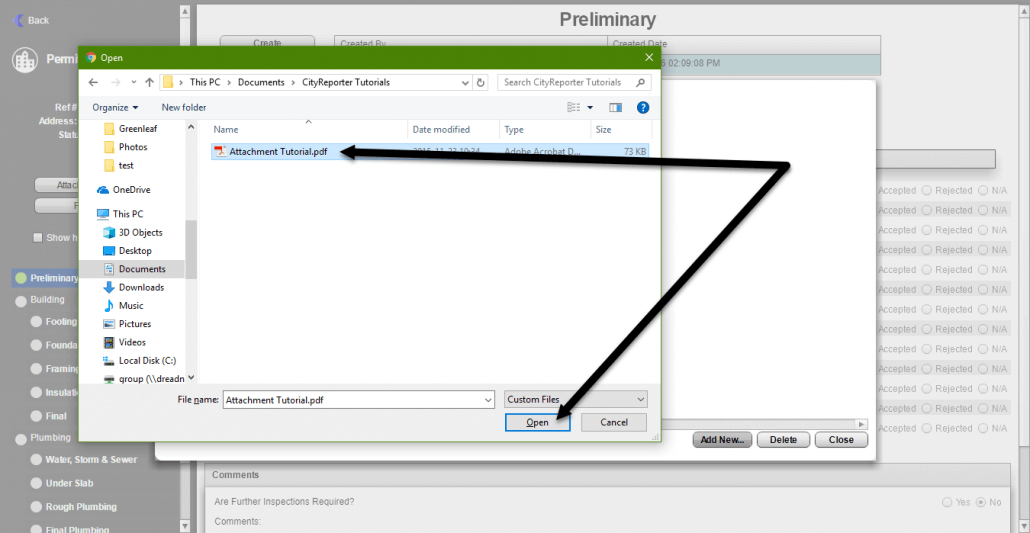
4. Browse for and select the file you would like to attach to the location, then click Open.
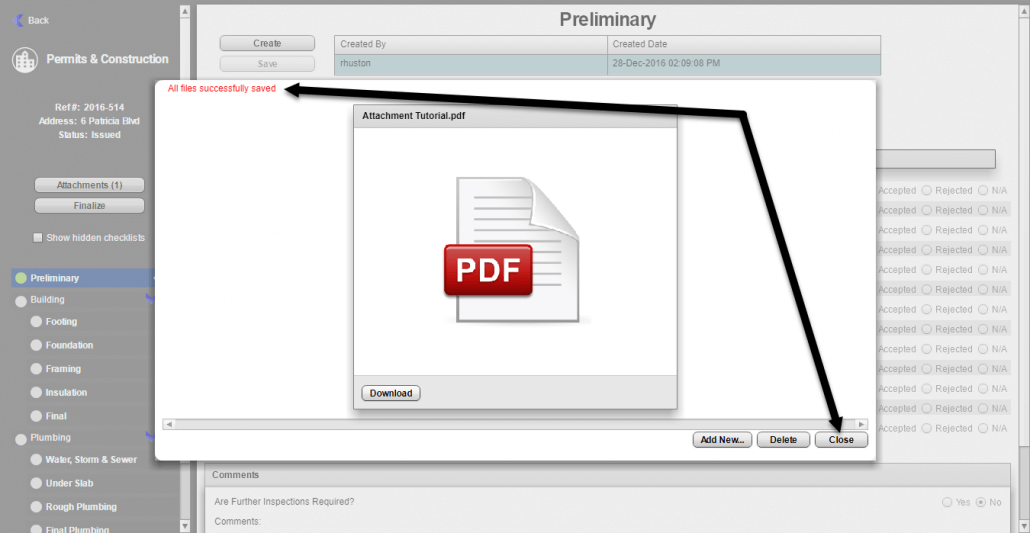
5. Once the file has successfully been uploaded to the location, a message will appear at the top of the screen. Click the Close button when done.
6. Now that you’ve added an attachment, a number appears on the Attachments button that lets users know how many files are attached.
7. To download the file to your mobile device, follow the steps in our tutorial How To View Attachments In The Field.
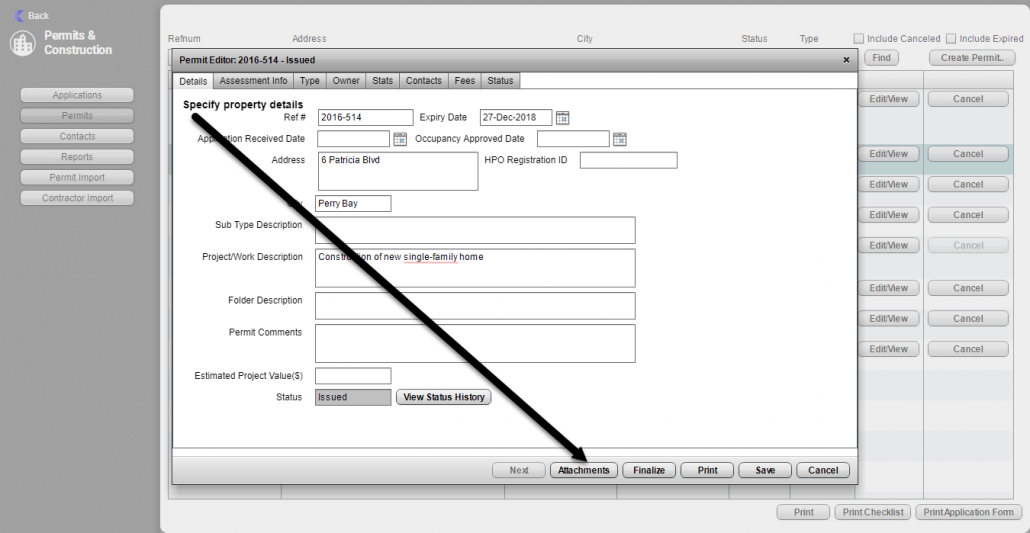
Adding an Attachment from the Permit Editor
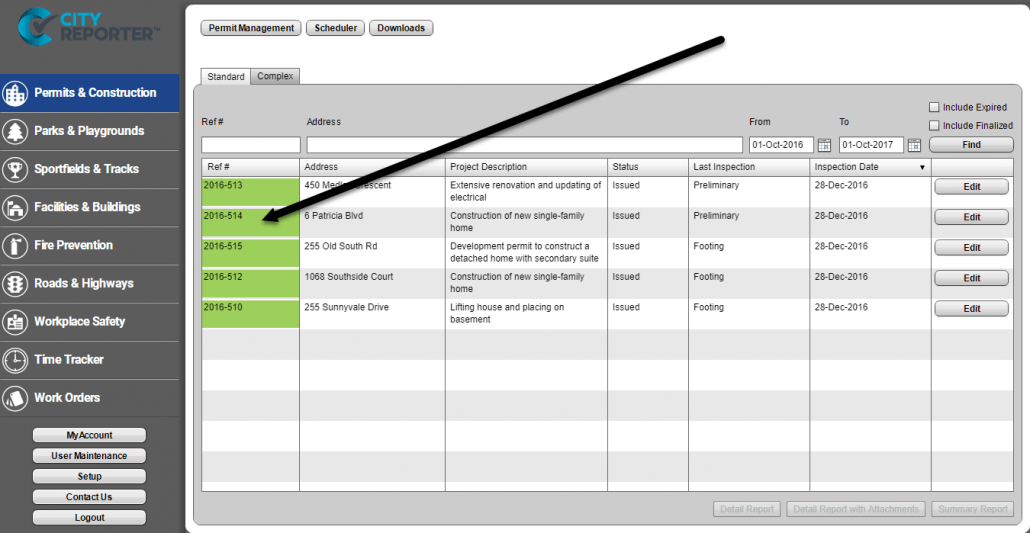
8. Log into CityReporter web using your city code, username, and password. Select the Permits & Construction module and click on the Permit Management button at the top of the screen.
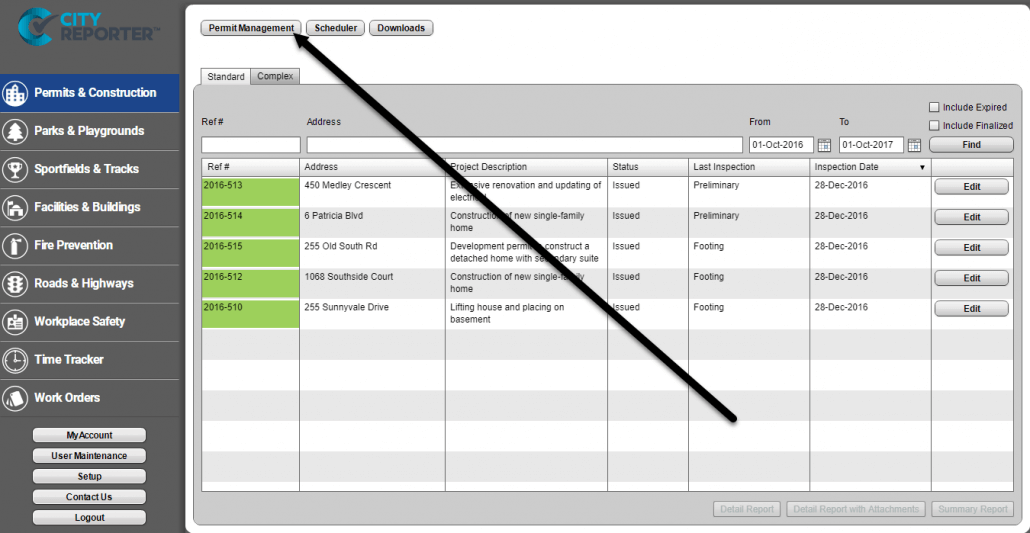
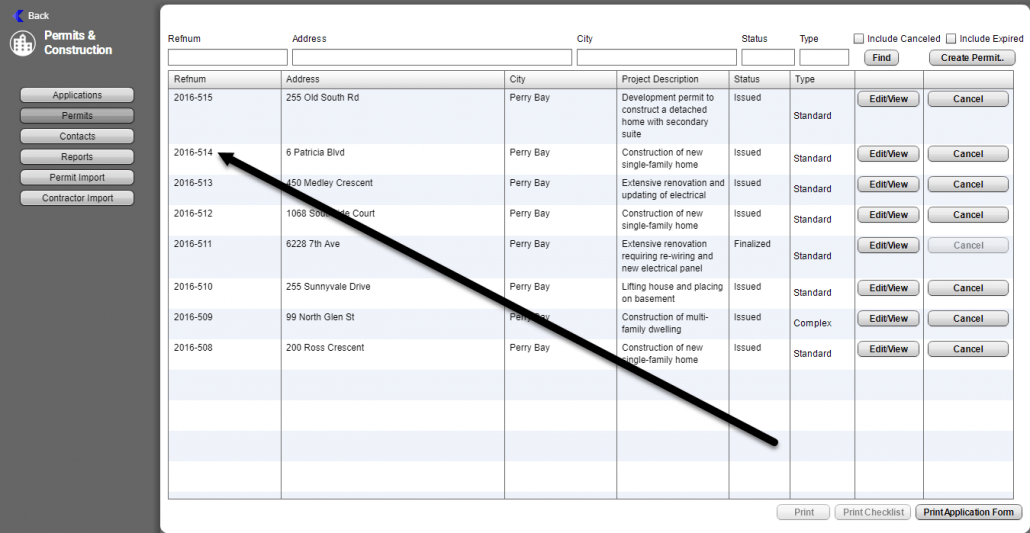
9. Find the permit or application that you would like to add an attachment to and double-click on it to open it.
10. In the Permit Editor window, click on the Attachments button. Follow steps 3 to 7 above to finish attaching a document.