As your city grows, you may find the need to add new roads in the system. New areas, roads, and landmarks can all be easily set up on CityReporter web.
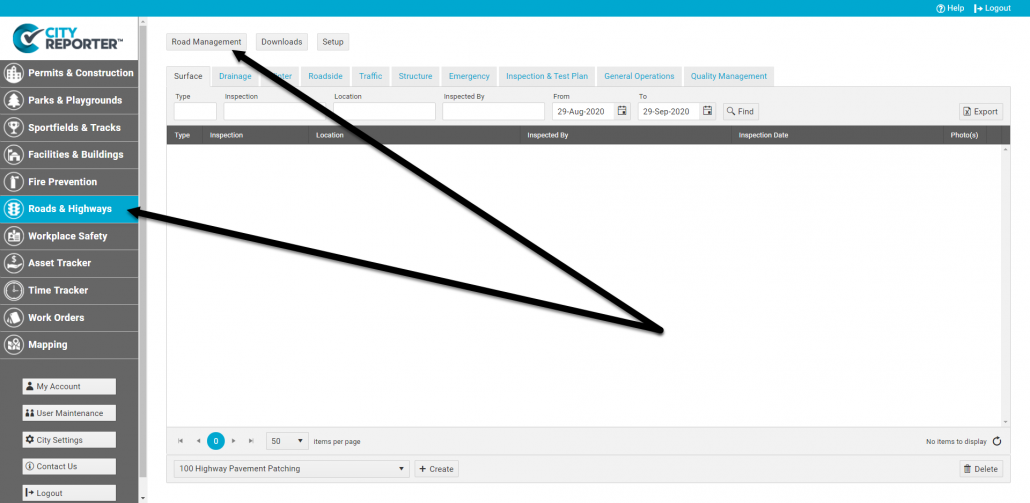
1. Using your computer, log into CityReporter web with your city code, username, and password. Select the Roads & Highways module and click the Road Management button at the top of the screen.
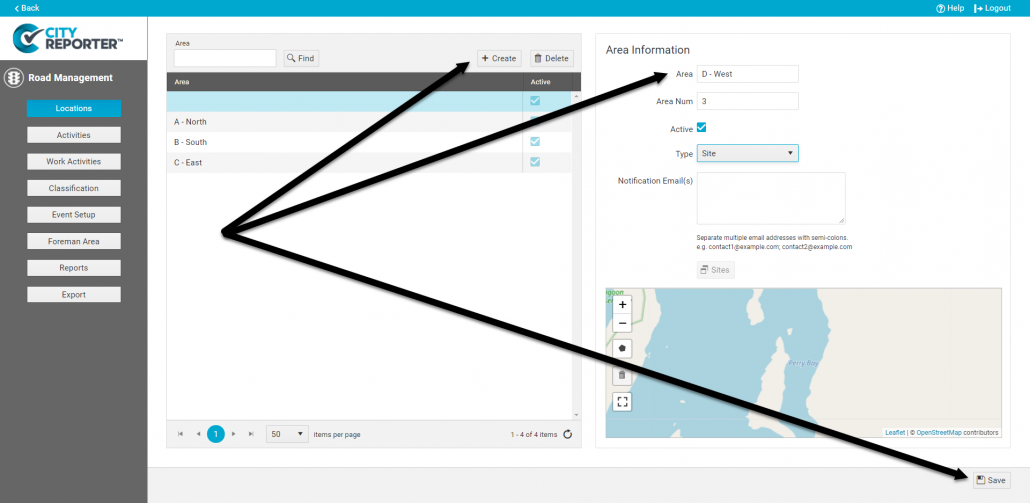
2. To create a new area, click the Create button at the top of the screen. Enter the Area name, optional Area Number, and, the Area Type. If you have the Mapping module licensed, you can enter an email address to receive overdue notices. Click the Save button (floppy disk icon) at the bottom right when done.
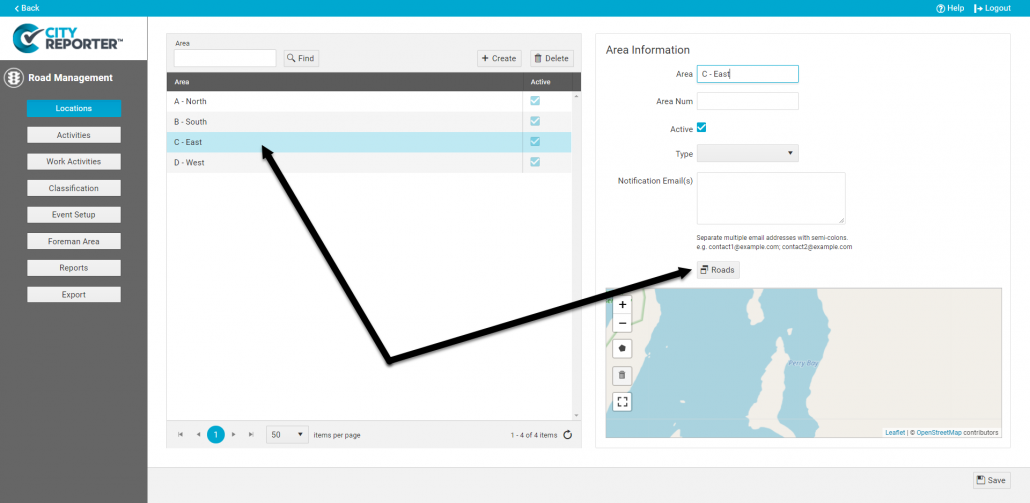
3. To add roads to an area, select the area from the table on the left, then click the Roads button on the right.
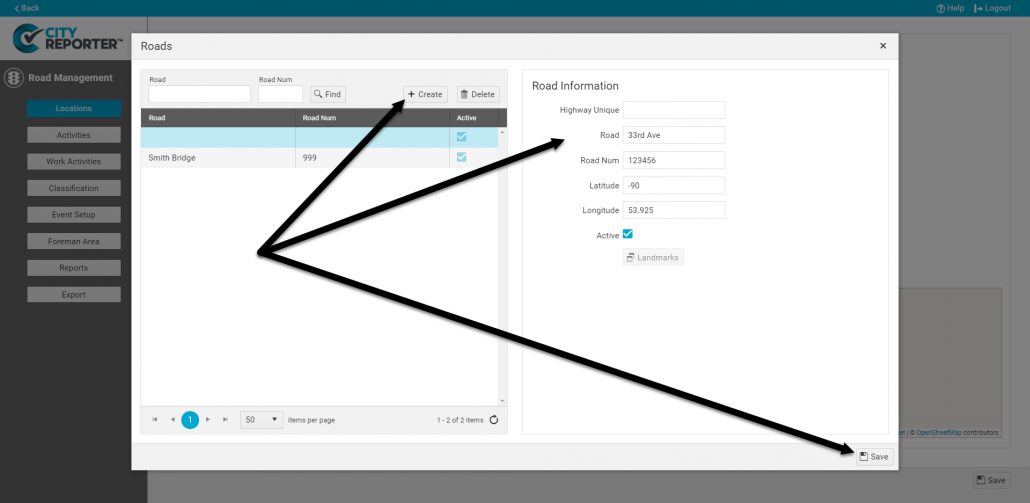
4. In the window that pops up, click the Create button at the top of the screen to create a new road. Enter the Highway, Road Name, Road Number, and optional Longitude/Latitude. Click the Save icon when done.
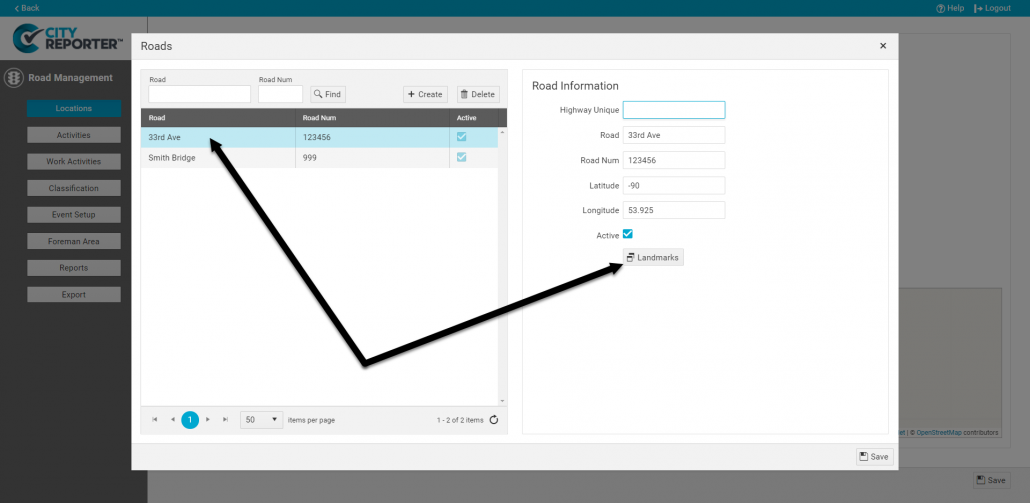
5. To add landmarks to a road, select the road from the table on the left, then click the Landmarks button on the right.
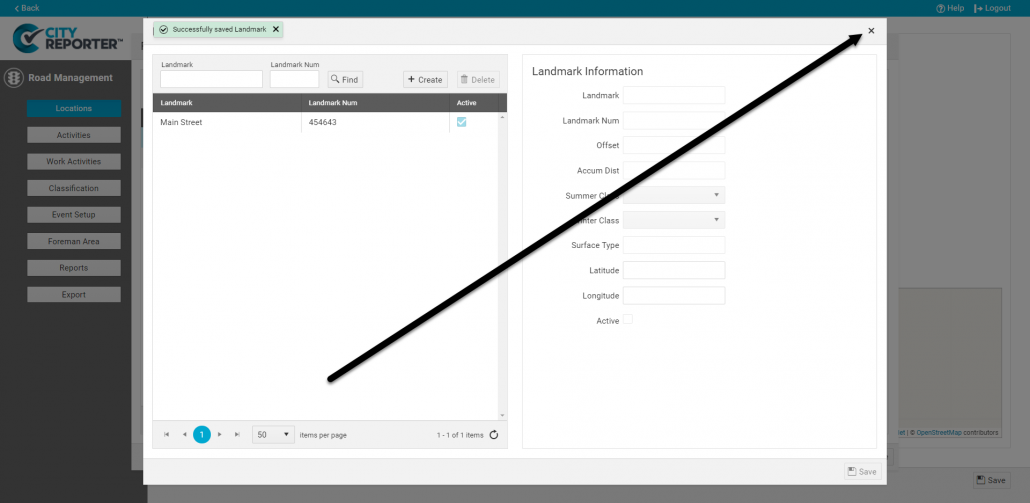
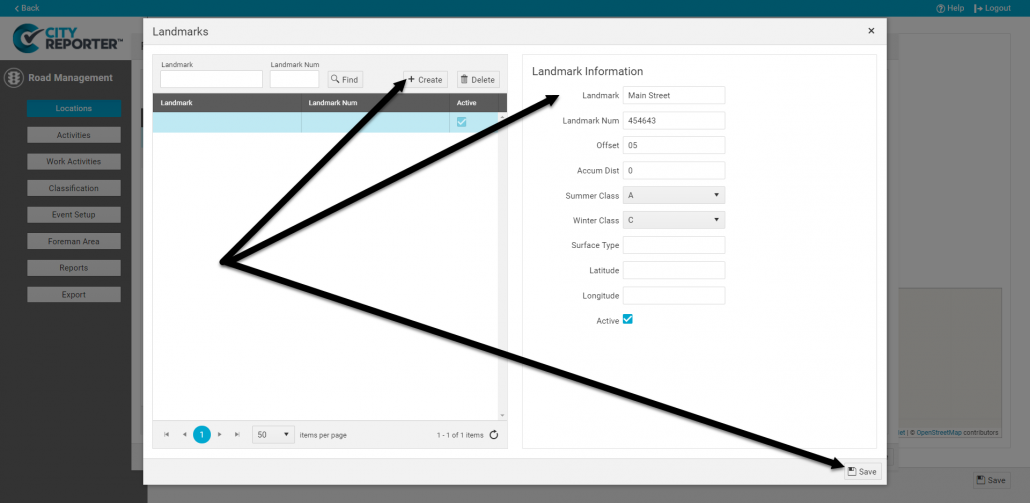
6. In the window that pops up, click the Plus button at the bottom of the screen to create a new landmark. Enter the Landmark, Landmark Number, and other applicable fields. The Offset field is the distance in kilometers to the next landmark. The Accumulated Distance field is the total distance in kilometers from the beginning of the road to this landmark. Click the Save icon when done.
7. Close the pop-up windows by clicking the “x” in the top right corner of the window. Remember to refresh CityReporter on your mobile devices to obtain the latest area, road, and landmark information.