


Work orders can be created from within an inspection or independently as stand-alone work orders. To create a work order associated with an inspection, follow steps 1 to 7. To create a work order not associated with an inspection, follow steps 8 to 12. There are separate tutorials for How To Add Required Tasks to a Work Order On Your Mobile Device and How to File Records Two Different Ways.
Work Orders Associated with an Inspection
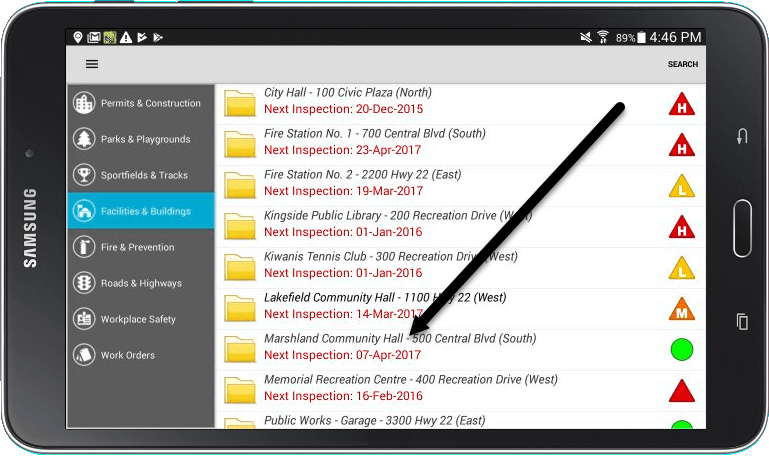
1. Log into CityReporter on your mobile device using your city code, username, and password. Select the module you will be using.
2. Find the location you would like to create a work order for and tap it to open it.
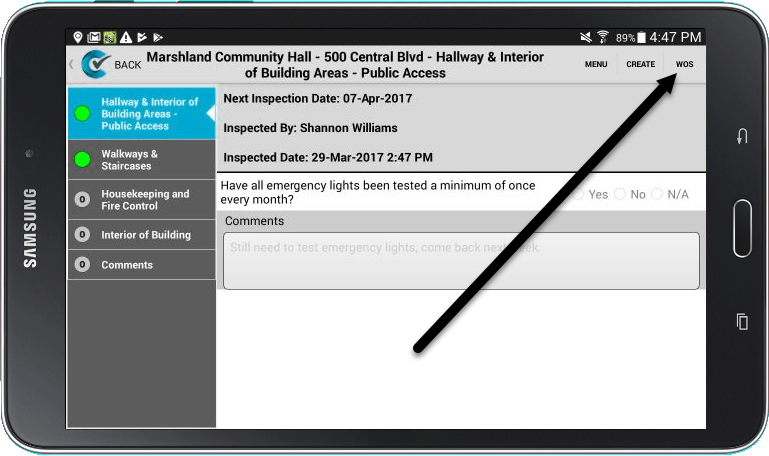
3. Select the inspection record you would like the work order associated with. In the top right corner of the screen, there is a button labelled ‘WOs’, which stands for work orders. Press it to open the work order screen for this location.
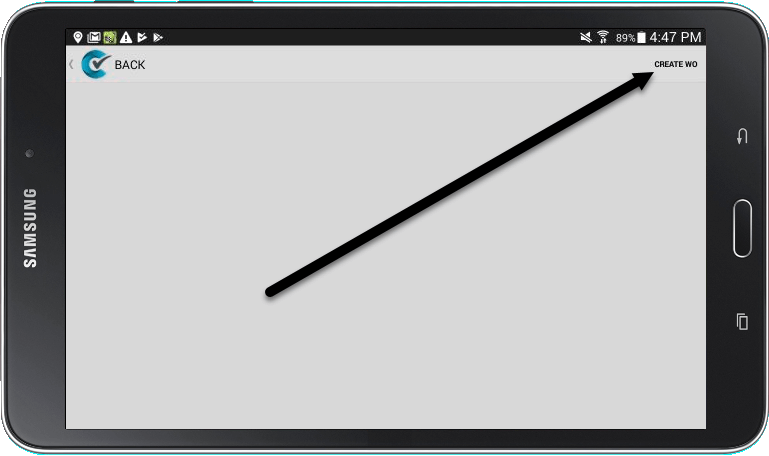
4. If previous work orders have been completed for this inspection, they will appear on this screen. To create a new work order, press the Create WO button in the top right corner of the screen.
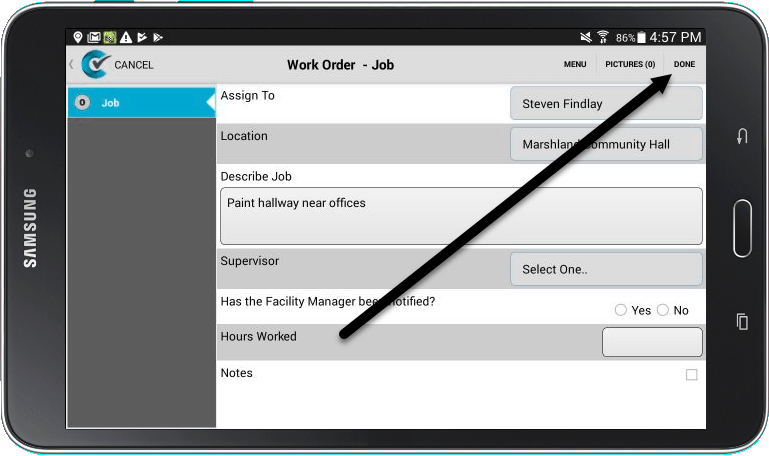
5. Fill out any of the required information on your Job Sheet. The fields on this screen will vary based on how your Job Sheet is customized.
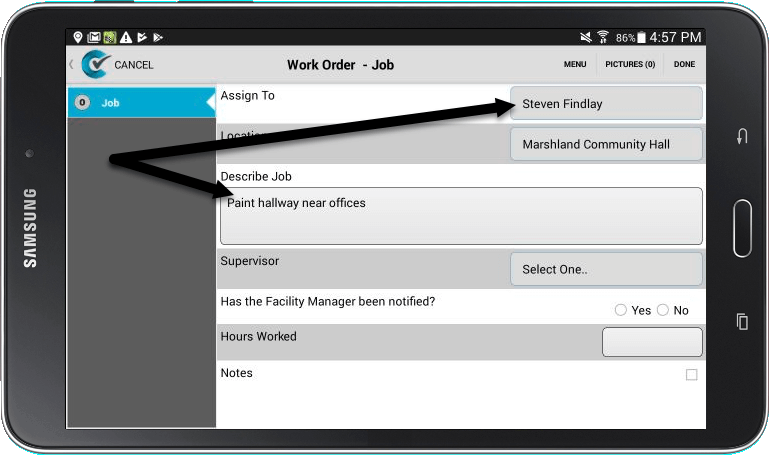
6. Press the Done button at the top right corner of the screen once you have filled out all required fields.
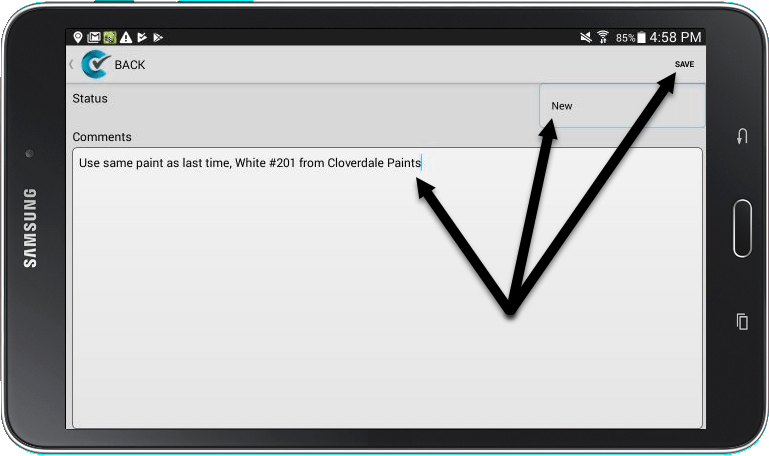
7. On the next screen, the Status drop-down indicates this is a New work order, although you can change it to a different status if needed. Enter any comments you would like your staff or supervisors to see, then click the Save button at the top right. If you like, you can add Tasks to the work order at this point (see How To Add Required Tasks to a Work Order On Your Mobile Device).
Stand-Alone Work Orders
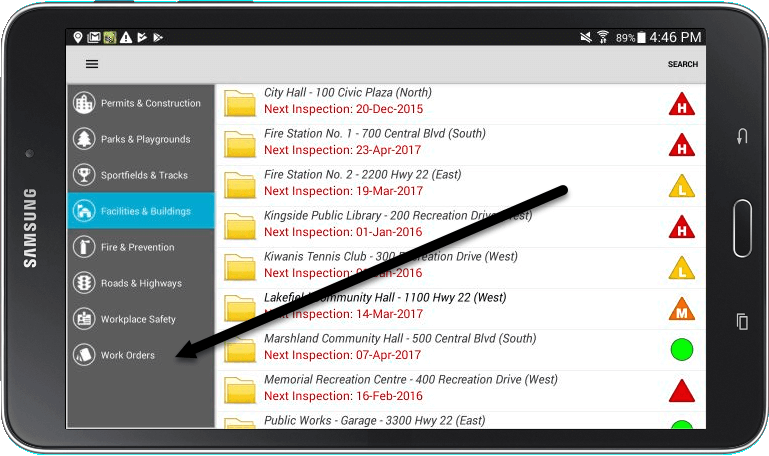
8. To create a work order that is not attached to an inspection, select the Work Orders tab on the left side of the main screen in CityReporter Mobile.
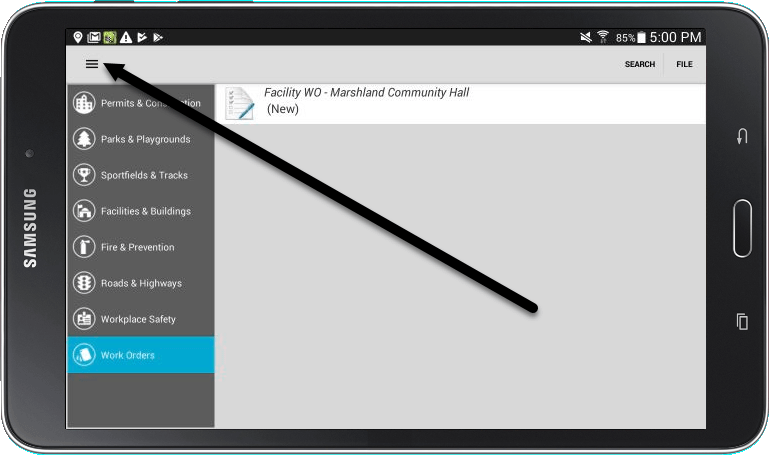
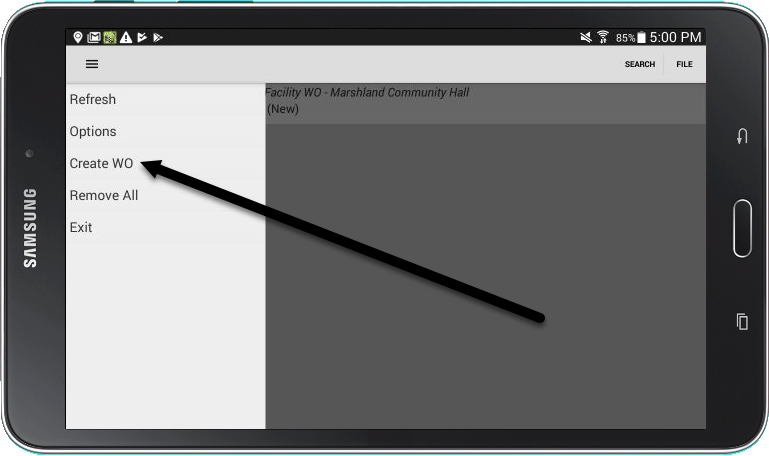
9. On this screen, you may see other work orders created on this device or downloaded from the web. Press the menu icon at the top left, then select Create Work Order.
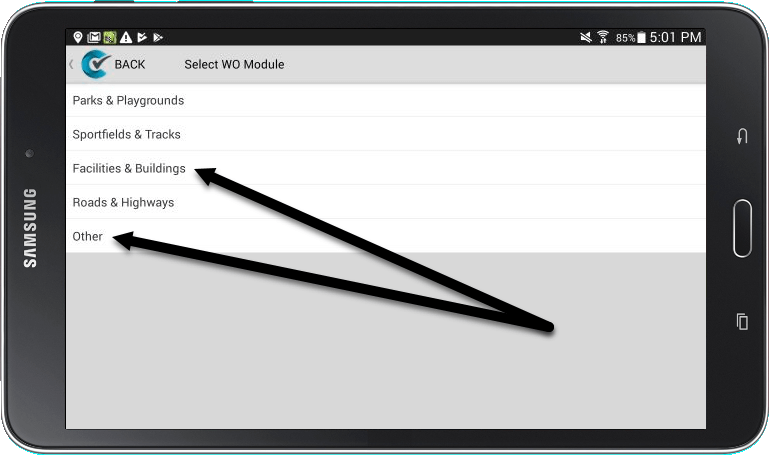
10. You can choose to create a work order for a module you are subscribed to, or if you need to create a work order for something unrelated to a module, use ‘Other’.
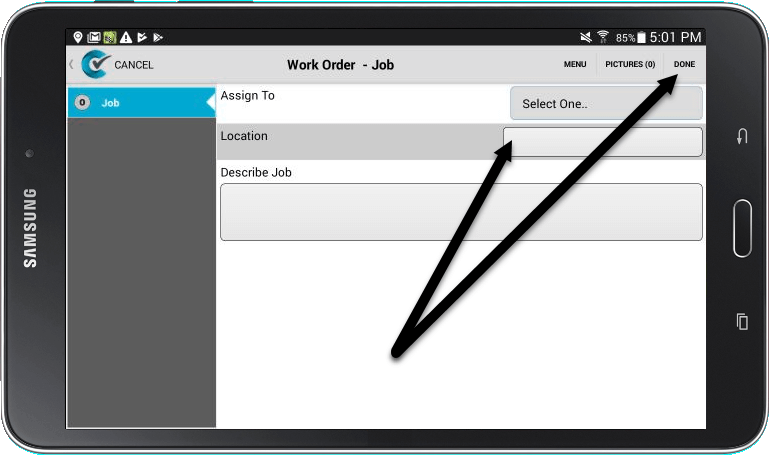
11. Work Orders created using ‘Other’ have a Location field that you type in, rather than a drop-down for selecting a module location. The fields on this screen will vary based on how your Job Sheet is customized. After filling in required fields, press Done at the top right.
12. On the next screen, the Status drop-down indicates this is a New work order, although you can change it to a different status if needed. Enter any comments you would like your staff or supervisors to see, then click the Save button at the top right. If you like, you can add Tasks to the work order at this point (see How To Add Required Tasks to a Work Order On Your Mobile Device).
