With CityReporter on your mobile device, you will be able to easily complete inspections at different building sites throughout your day.
For instructions on how to load permits, refer to our tutorial on How to Search for and Download Locations on Your Mobile Device.
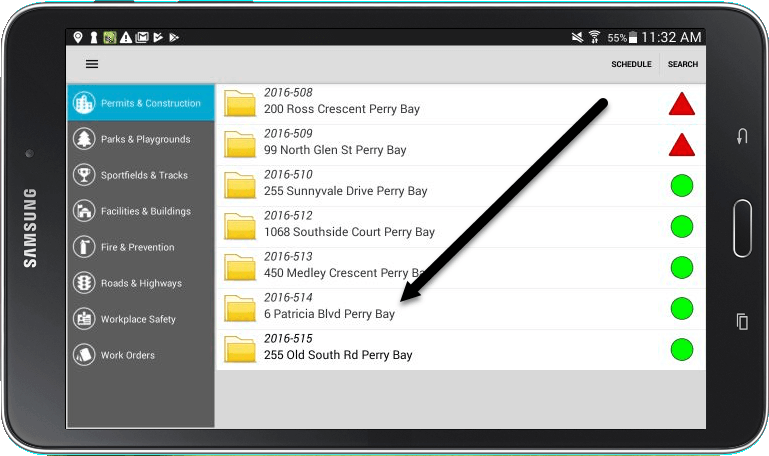
1. Log into CityReporter on your mobile device using your city code, username, and password. Tap the permit you would like to inspect.
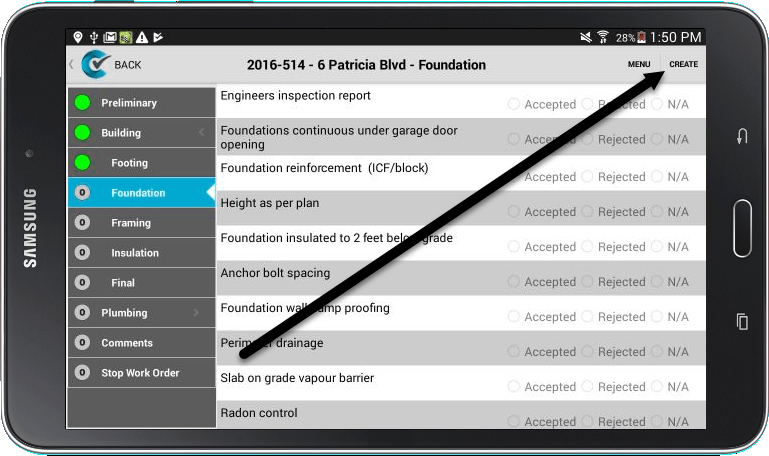
2. Select the appropriate form, then press Create to start your inspection.
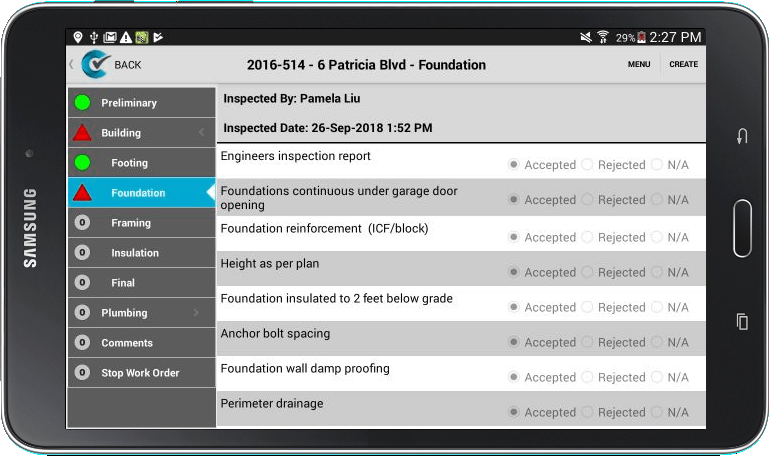
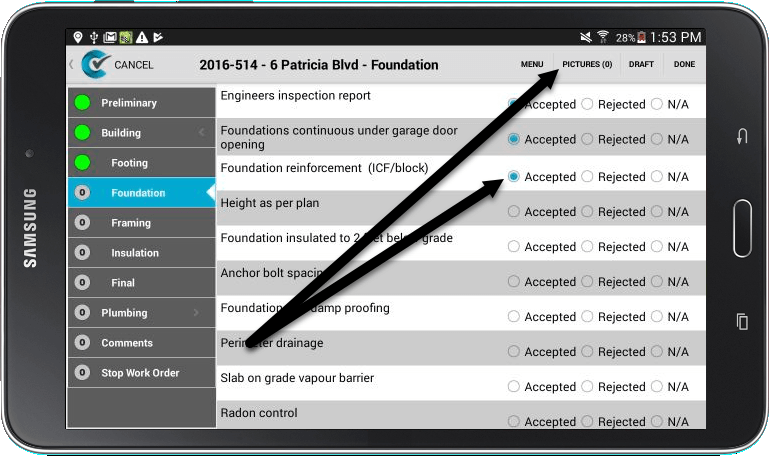
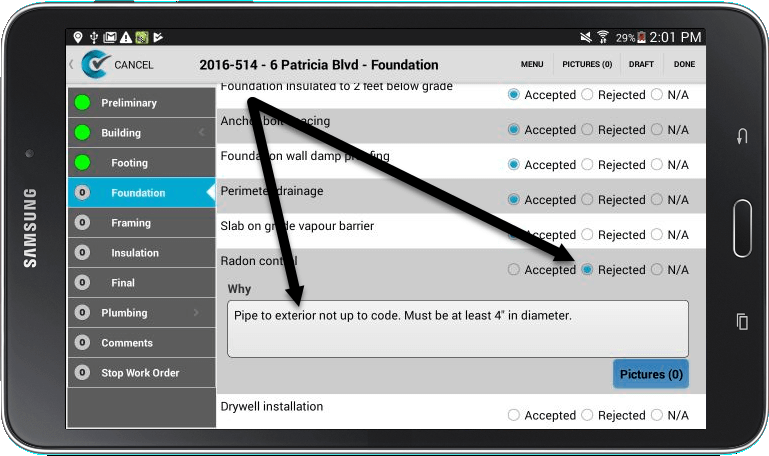
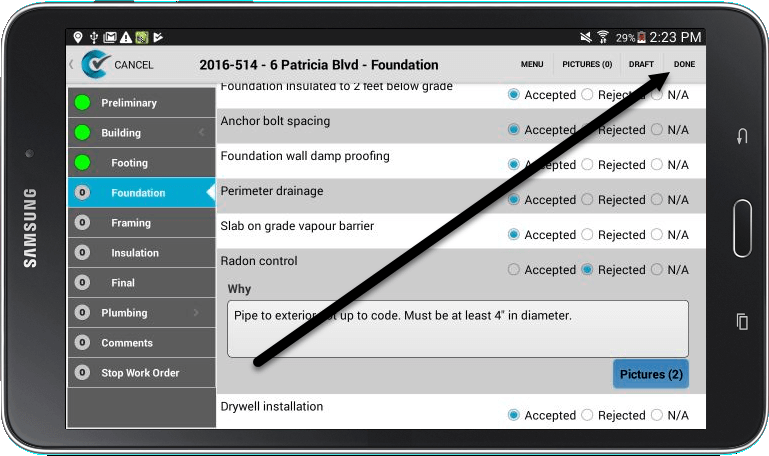
3. Use the buttons next to each question to indicate whether the item is “Accepted” or “Rejected”. Select “N/A” if the item doesn’t apply to this particular inspection. You are also able to add pictures to your inspection by selecting the Pictures button at the top of the screen.
4. If you find a deficiency, select “Rejected” as your answer. A box for comments describing why the item was rejected will appear.
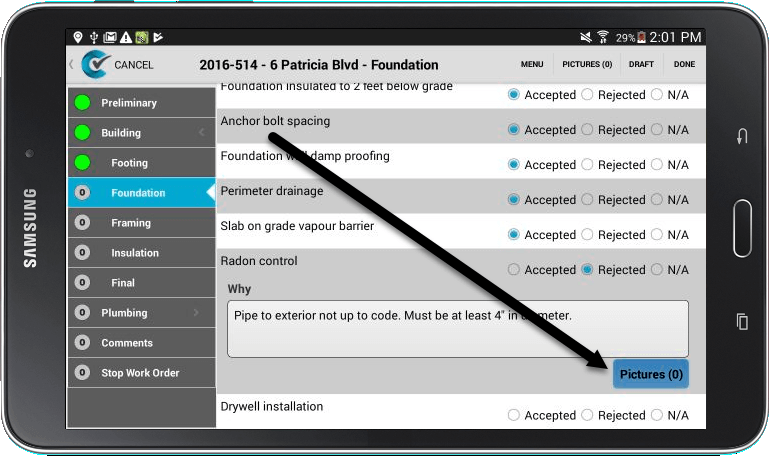
5. You can attach one or more pictures directly to a rejected item.
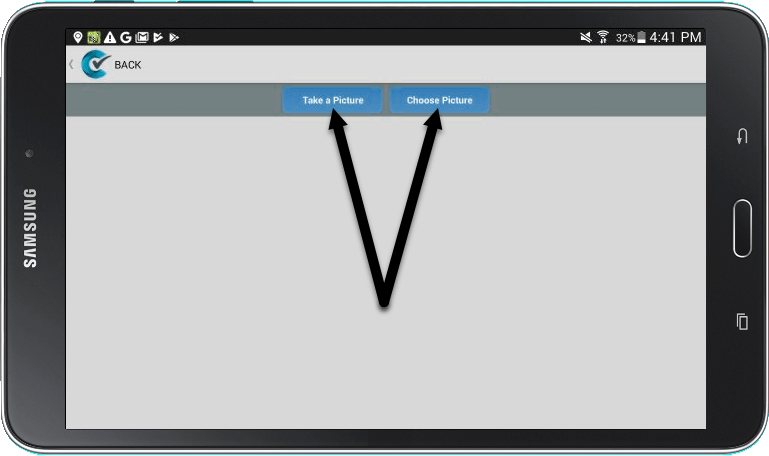
6. You can either take a picture by pressing Take a Picture, or, if you already took a picture outside of CityReporter, you can select it from the photos on your device.
7. If you press Take a Picture, the camera on your device will open. Once you take a photo, press Discard to retake the photo, or Save to add it to your inspection. The camera options may differ depending on the brand of your device.

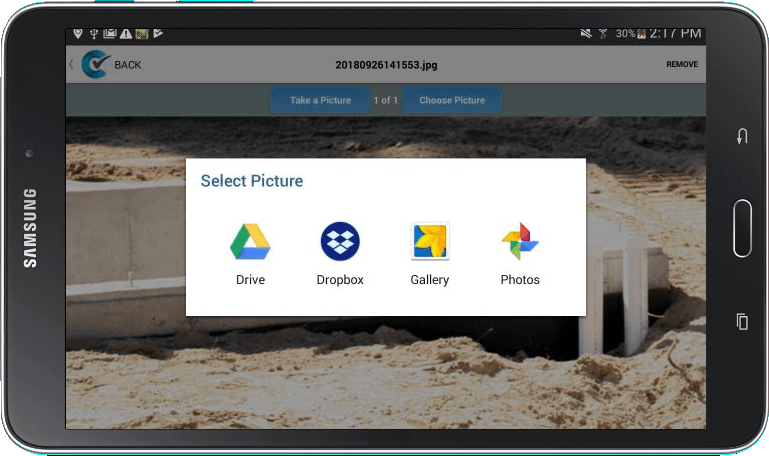
8. If you press Choose Picture (or Browse for Picture on iOS devices), options will pop up for browsing photo folders on your device.
9. When you’re done with the pictures, press the Back button to return to the inspection questions.

10. Once you have filled out all the questions in your inspection, press the Done button at the top of the screen.
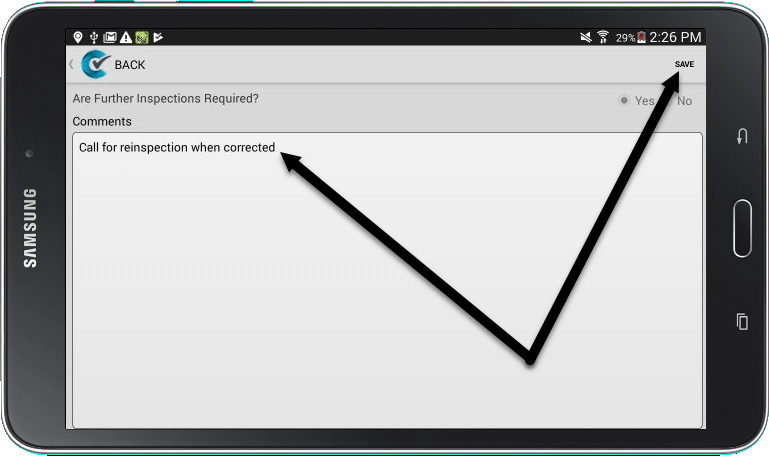
11. On the next screen, you have the option of adding general comments. If no items were rejected, you may also select whether another inspection of this stage is necessary. If one or more items were rejected, “Yes” is pre-selected to indicate that further inspections are required. Once you are finished, press the Save button at the top of the screen.
12. Remember to file your completed inspection to upload it to the cloud. Refer to our tutorial on How to File Records Two Different Ways for instructions.