


Our Work Orders module is integrated with our Roads & Highways module. You can create a work order right from a road inspection on your mobile device for a seamless experience.
1. After you complete a road inspection, a button labelled WOs (which stands for work orders) will appear. Press it to open the work order screen.

2. If previous work orders have been completed for this inspection, they will appear on this screen. To create a new work order, press the Create button in the top right corner of the screen.

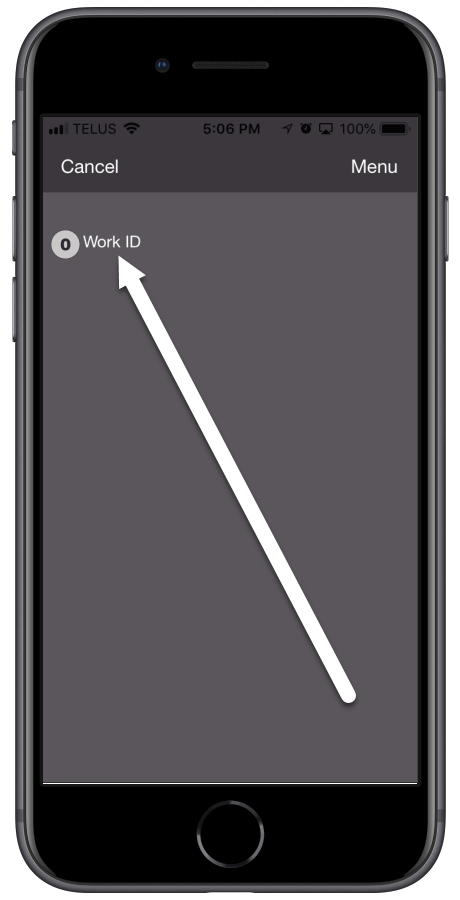
3. Select the Work ID button.
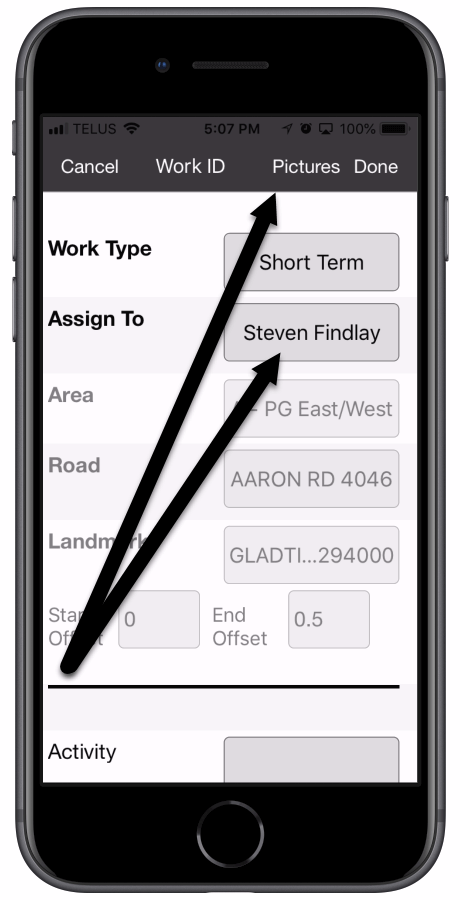
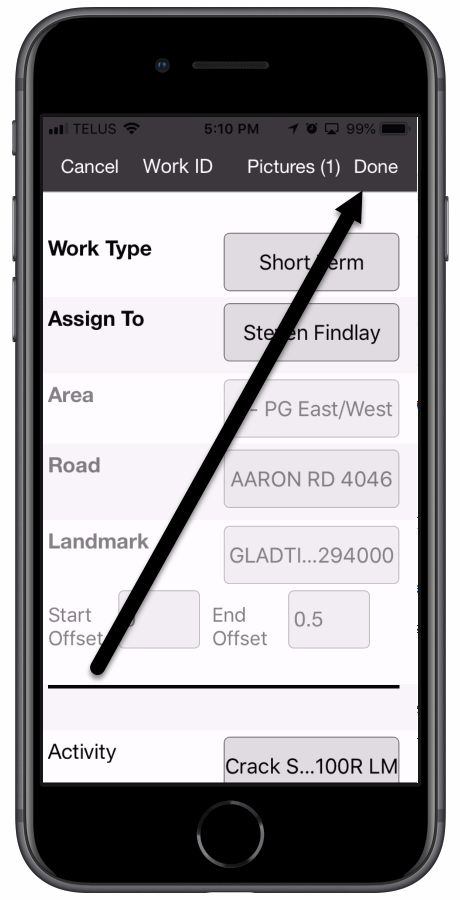
4. Fill in the required fields and assign the work order to a user. The Area, Road, and Landmark fields will be already filled in from the inspection info and can’t be changed. You are also able to add pictures to your inspection by selecting the Pictures button at the top of the screen.
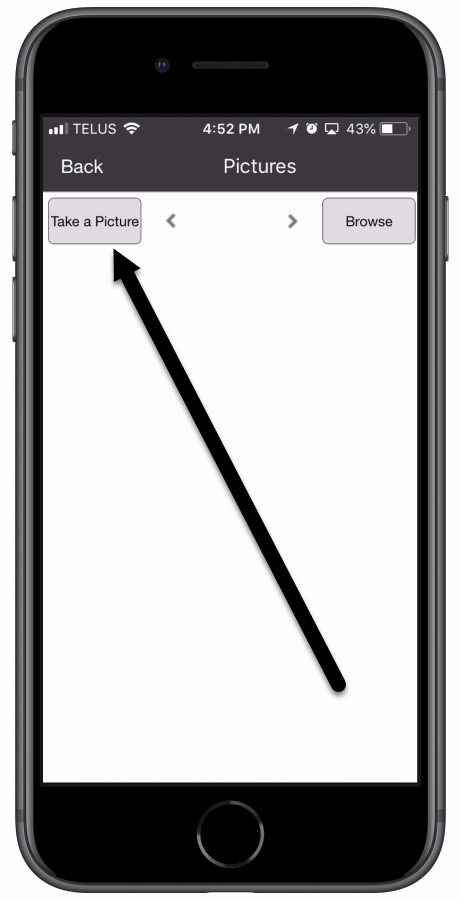
5. You can either take a picture by pressing Take a Picture, or, if you already took a picture outside of CityReporter, you can select it from the photos on your device by pressing Browse (or Choose Picture on Android devices).
6. If you press Take a Picture, the camera on your device will open. Once you take a photo, press Use Photo or Save to add it to your inspection. The camera options may differ depending on the brand of your device.
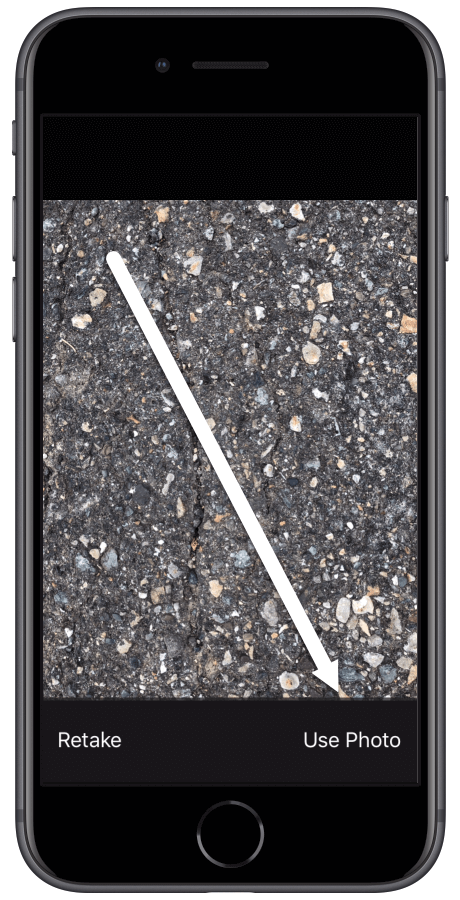
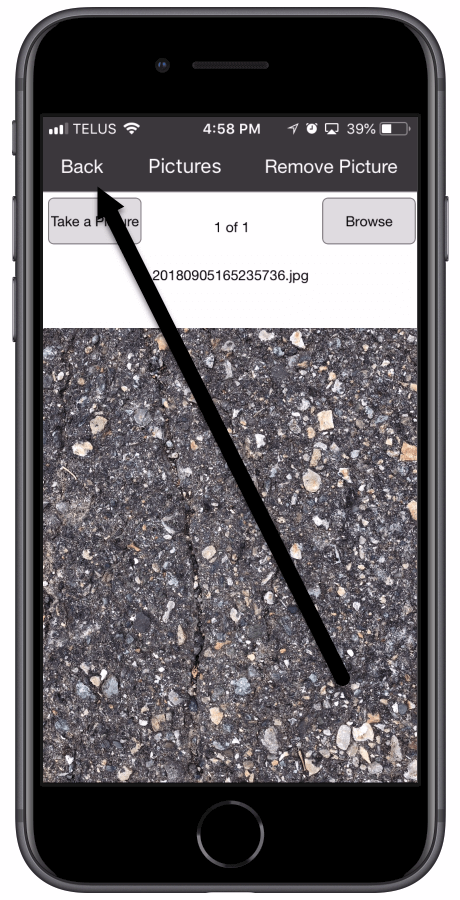
7. You can take as many pictures as needed. When you’re done with the pictures, press the Back button to return to the work order.
8. Press the Done button at the top right corner of the screen once you have filled out all required fields.
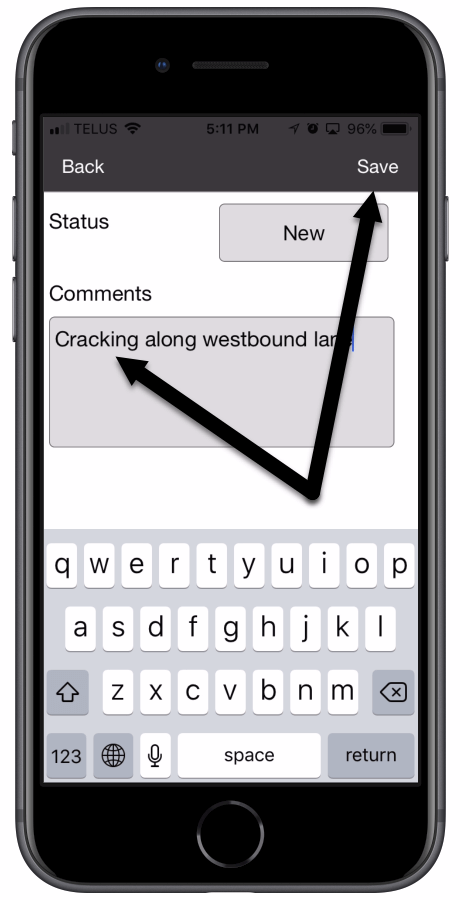
9. On the next screen, the Status drop-down indicates this is a New work order, although you can change it to a different status if needed. Enter any comments, then click the Save button at the top right.
10. Don’t forget to file your work orders. Refer to our tutorial on How to File Inspections Two Different Ways for instructions.
