If you have added contacts to Areas or Locations and enabled the “Email on sync” option, they will automatically receive an email report when you complete and file an inspection (see How To Automatically Email Inspection Reports). The contents of these reports can be customized to include your logo, address, and pictures. You also have the option to only include faults instead of all inspection questions. Refer to this tutorial for instructions on how to customize reports, and see examples of what they might look like.
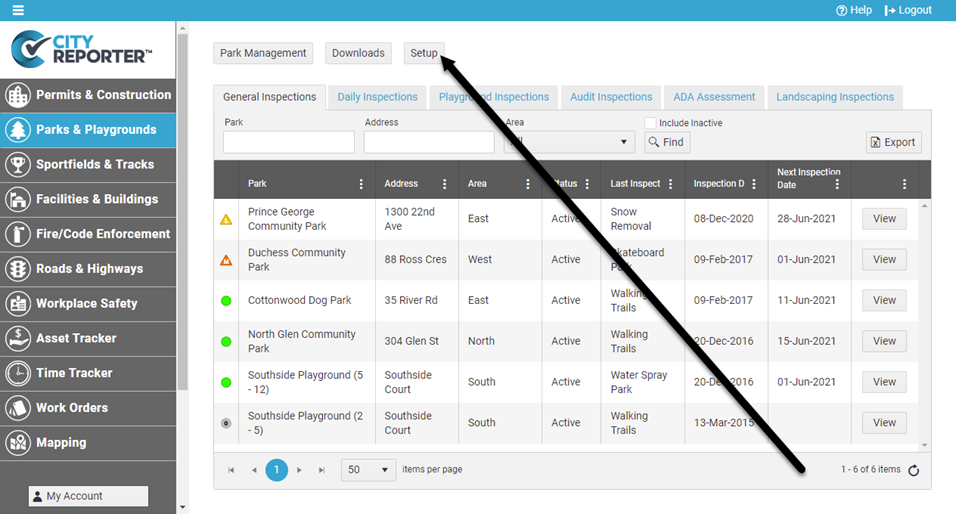
1. Using your computer, log into CityReporter web with your city code, username, and password. Select a module and click the Setup button at the top of the screen, as shown.
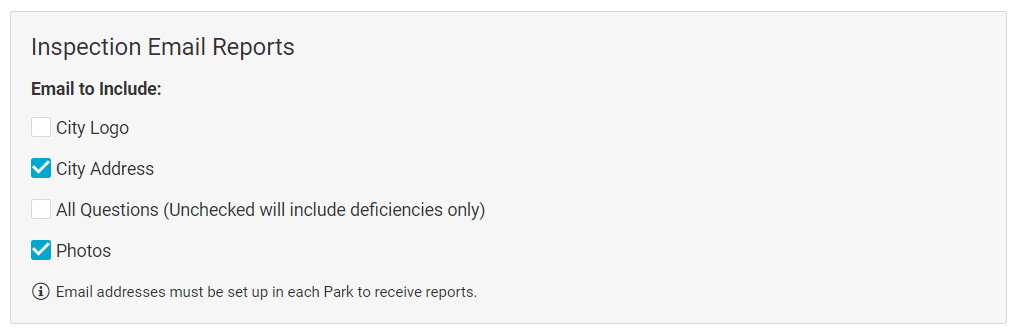
2. Select one of the module tabs at the top of the screen. Under Form Management, there is an area titled Inspection Email Reports.

3. Select which options you would like to include in the email reports. Note that if you do not select “All Questions”, only faults will appear in the emails.
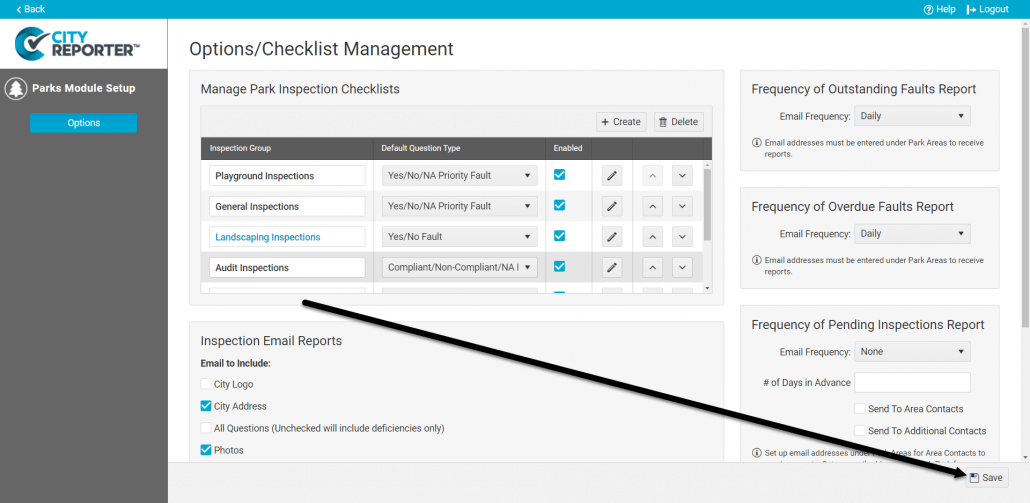
4. After you make any changes to the options, make sure that you click the Save button at the bottom right of the screen. If you do not do this, your changes will be lost.
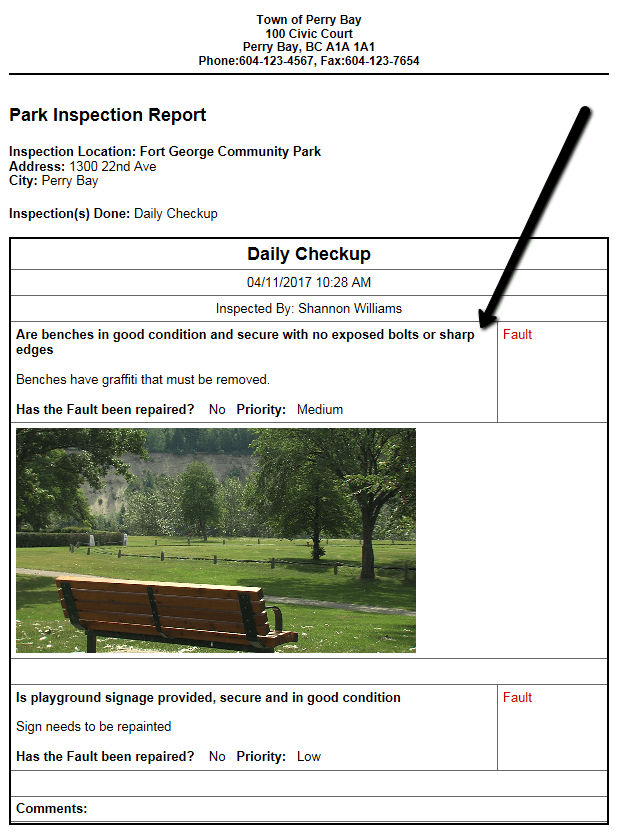
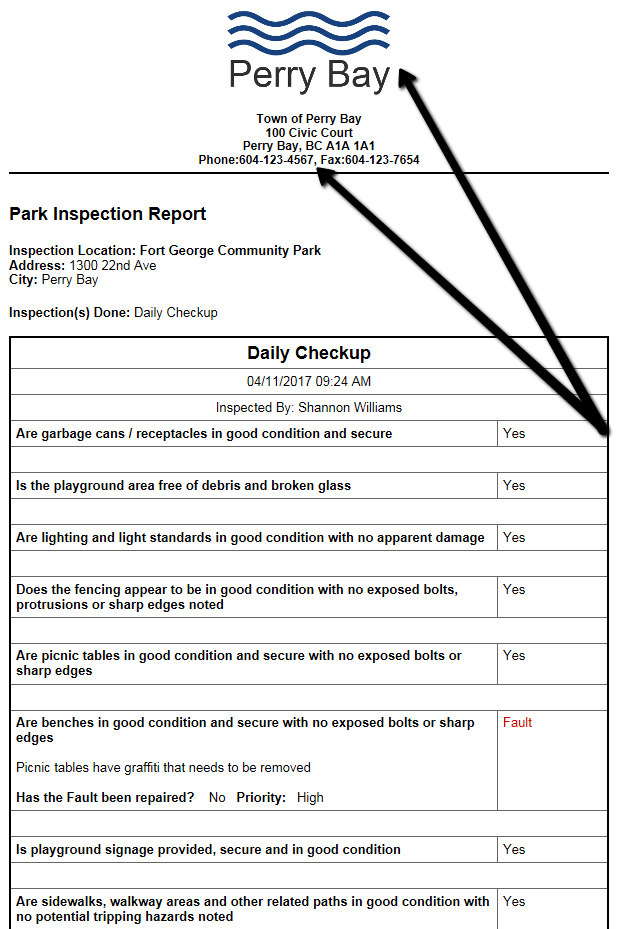
5. If you choose to display your logo and address an all of the questions, your inspection report will look like this:
6. If you choose to only display your address, the top of the report will look like this:
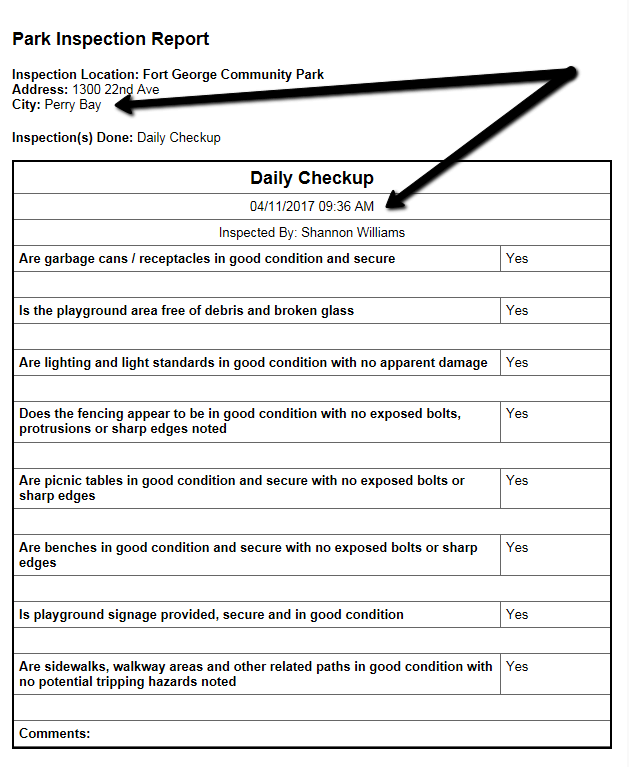
7. If you choose not to display your city logo or address, the top of your report will look like the example below. Your report will still include relevant information such as your city , date and time of your inspection, and the inspectors’ name.
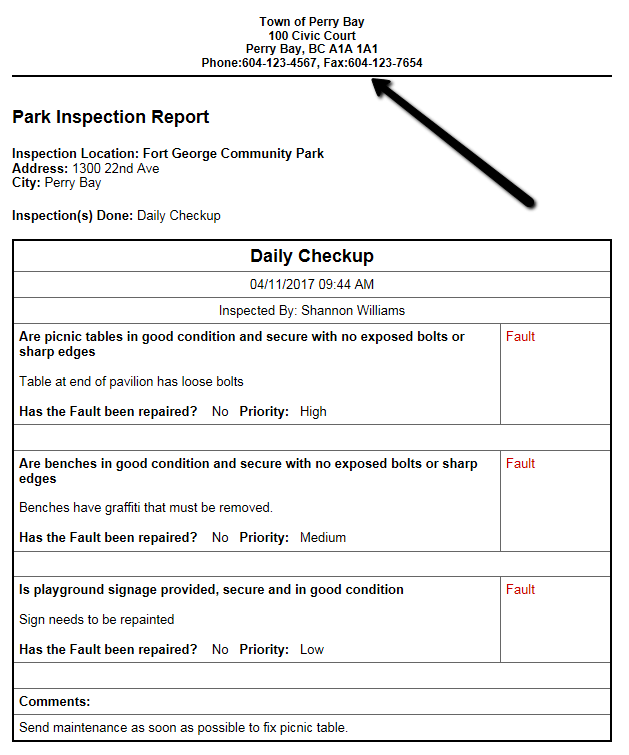
8. If you opt out of showing All Questions, your report will only show faults found during the inspection and will look like this:
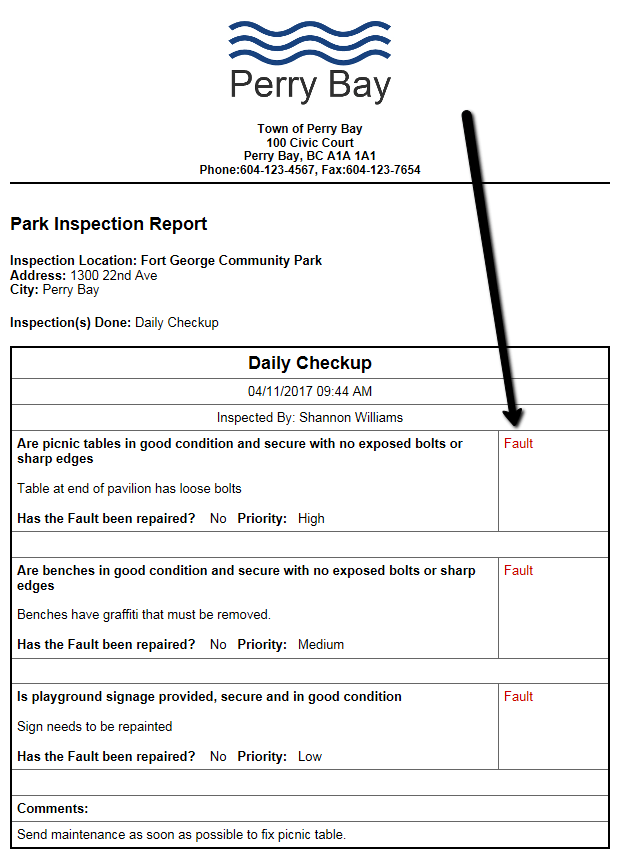
9. If you choose to include pictures in your reports, your inspection report will look like this: