


The Permit Application Portal is an add-on to the Permits & Construction module. It enables your citizens to apply for building permits online, including uploading documents. The information they submit integrates seamlessly into the application process you’re already familiar with in CityReporter. Portal users can also pay for their permit fees and request inspections through the portal. Please contact us at 1-866-264-2236 to learn more about how you can add the portal to your account. Also see our related tutorial How To Apply for a Permit Through the Portal.
General Options
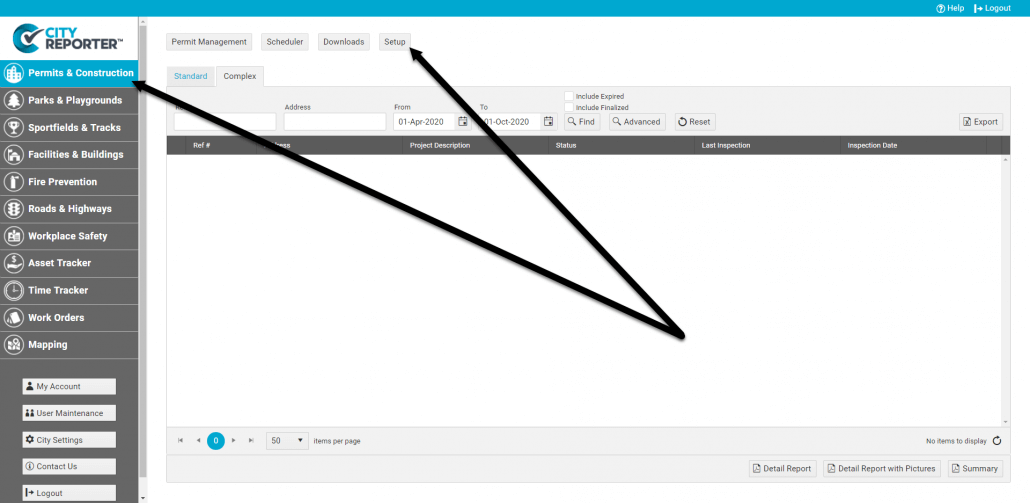
1. Using your computer, log into CityReporter web with your city code, username, and password. Select Permits & Construction in the left menu, then click the Setup button at the top of the screen, as shown.
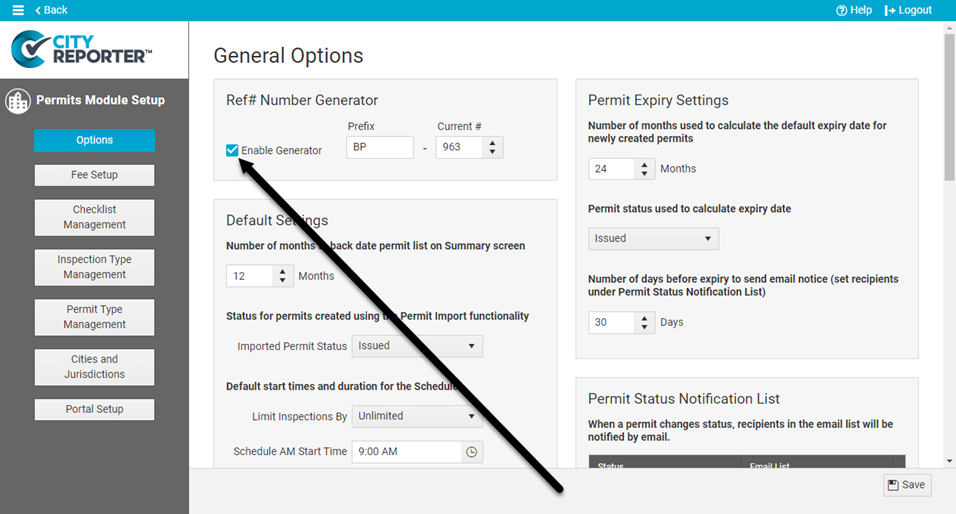
2. On the Options screen, enable the Ref# Number Generator if it isn’t already enabled. This is required so that applications submitted through the portal are automatically assigned a reference number. Enter a Prefix and the Current #. Set the Current # to “0” if you want the next number to be “1”.
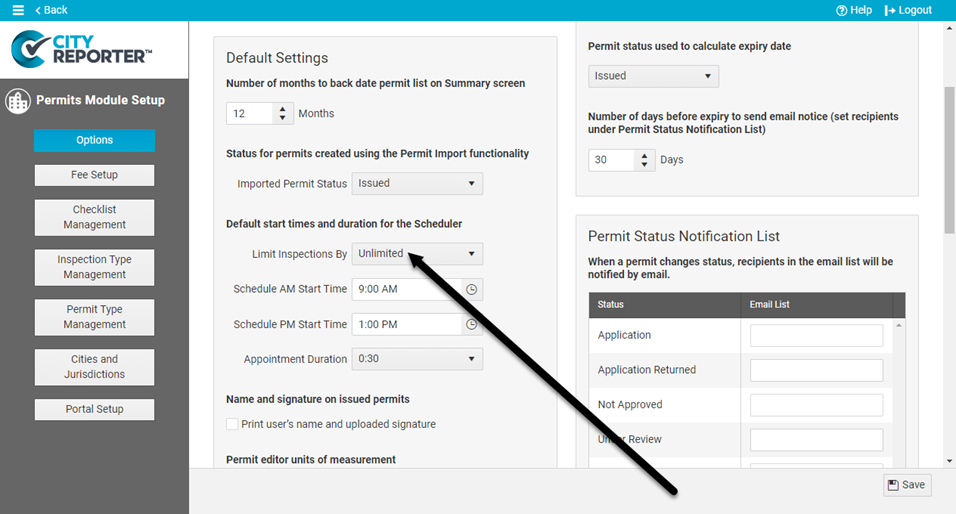
3. In the Default Settings section, set the Default start times and duration for the Scheduler. These settings will be used to schedule inspections requested through the portal.
- Limit Inspections By: set to Unlimited, Day, or AM/PM
- Unlimited: Inspection requests are automatically scheduled for the Schedule AM Start Time, with no limit on how many requests can be made.
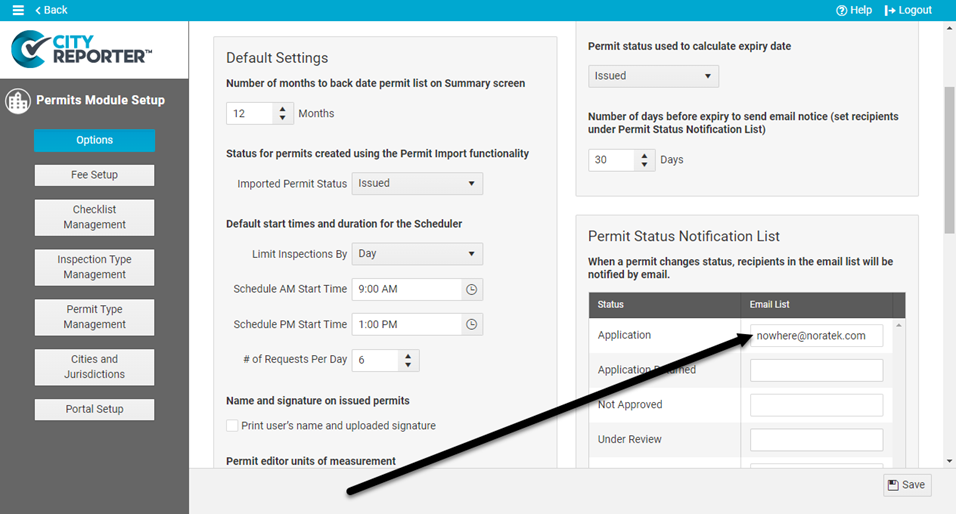
- Day: Inspection requests are automatically scheduled as All Day appointments, with no specific time.
- AM/PM: Inspections can be requested for the morning between the AM Start and End Times or for the afternoon between the PM Start and End Times.
- Schedule AM Start Time
- Schedule AM End Time (for AM/PM option only)
- Schedule PM Start Time
- Schedule PM End Time (for AM/PM option only)
- Appointment Duration (for Unlimited and AM/PM options): Inspection requests will default to the duration set, but can be changed in the Scheduler.
- # of Requests Per Day (for Day option only): When the # of requests limit is reached, inspections can no longer be requested for that day.
- # of Requests Per Time Slot (for AM/PM option only): When the # of requests limit is reached, inspections can no longer be requested for that time slot.
- Include time in portal requests (for AM/PM option only): When disabled, inspections can be requested for AM or PM, but not a specific time. When enabled, inspections can be requested for a specific time during working hours.
4. In the Permit Status Notification List, enter one or more internal email addresses for the Application status. Recipients will be notified by email every time an application is submitted through the portal or created under Permit Management.
5. Click Save at the bottom right of the screen to save your settings.
Portal Setup
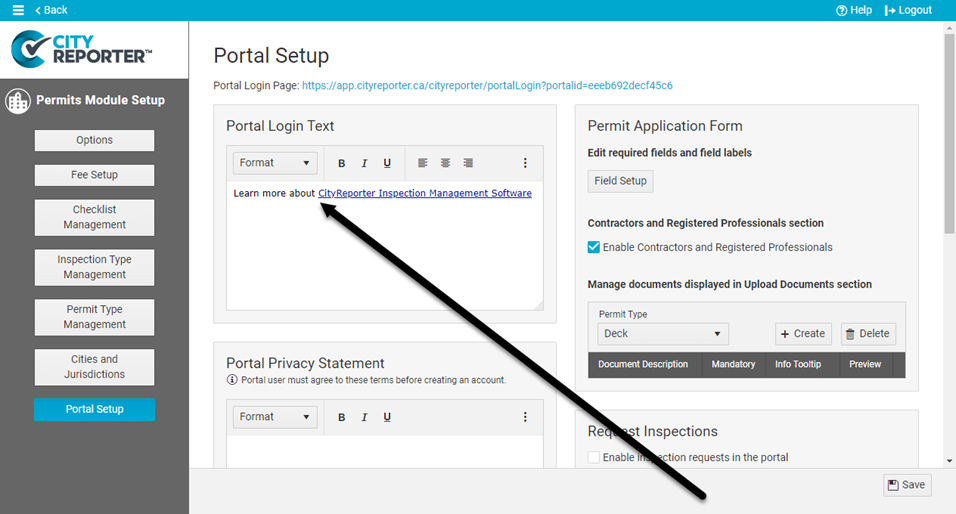
Portal Text
1. On the Portal Setup screen, you may enter Portal Login Text if desired. This text is displayed on the portal login page. It could explain the application process or link to more information for example.
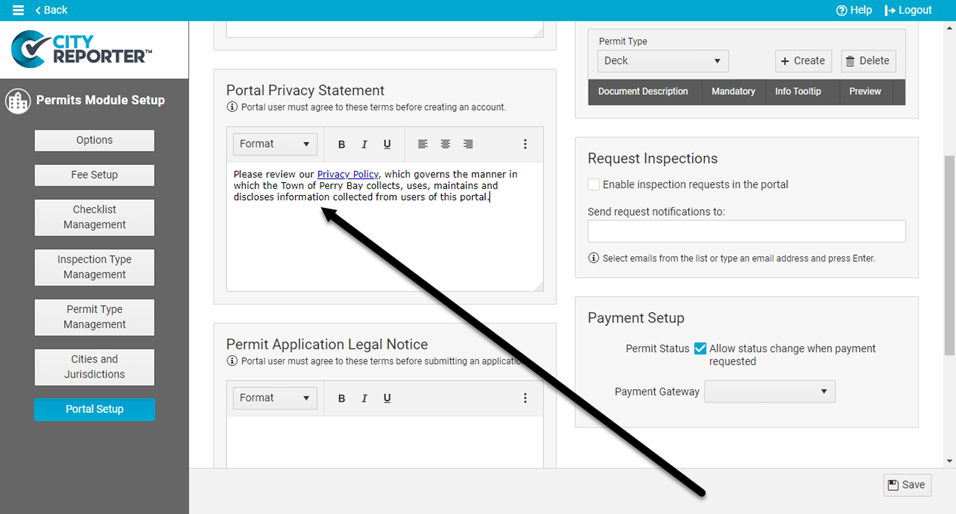
2. Enter your city’s Portal Privacy Statement. A portal user must agree to these terms before they can create a portal account.
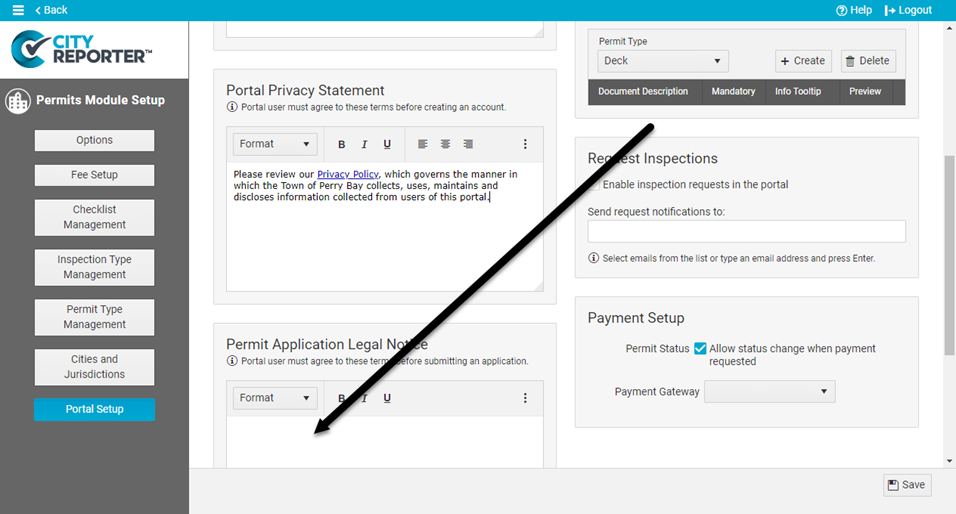
3. Enter text for your city’s Permit Application Legal Notice. A portal user must agree to these terms before they can submit an application.
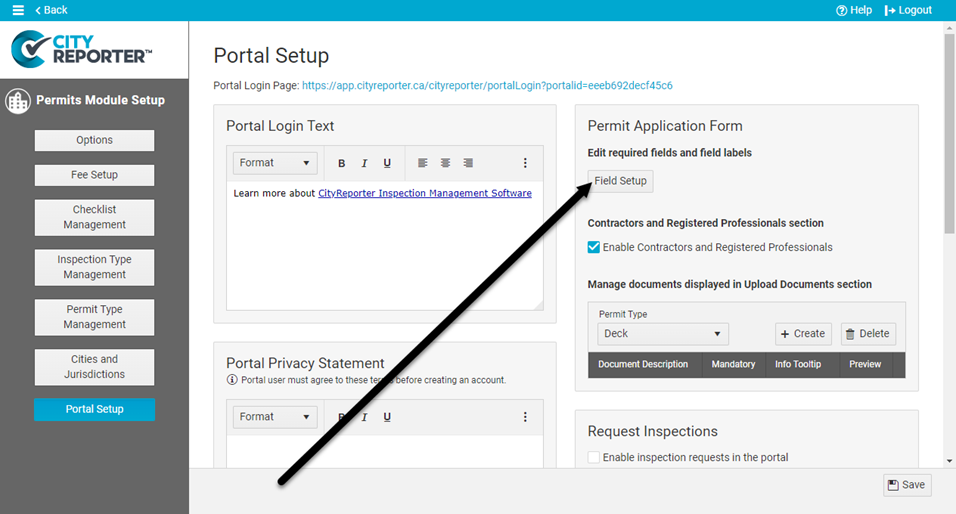
Permit Application Form
1. Click Field Setup to edit the field labels and mark which fields are required.
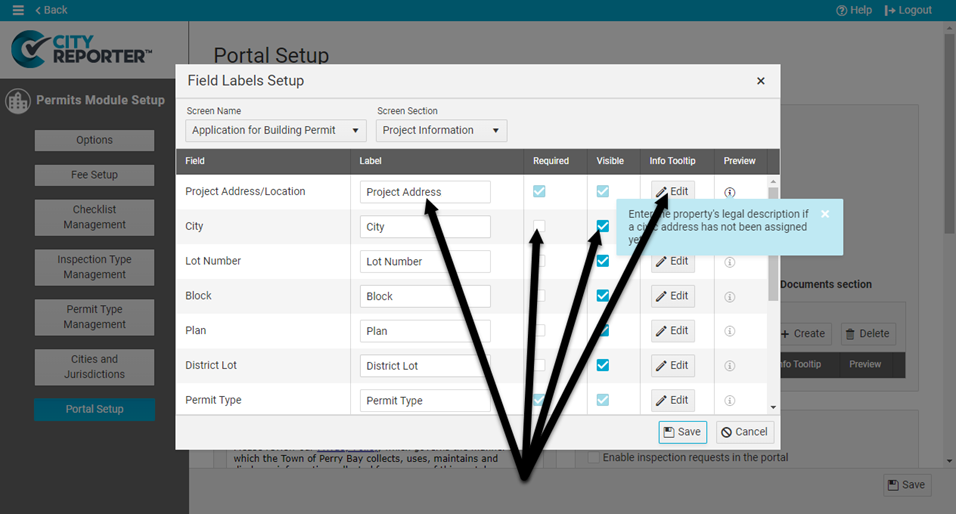
2. In the Field Labels Setup window, update the following settings for each of the Screen Sections – Project Information, Applicant Information, Owner Information, and Contractor Information:
- Edit the Label for fields where you want the text displayed to be different from the default text.
- Set fields to Required if they must be filled in before an application can be submitted. Some fields, such as Project Address/Location, must be set to Required and can’t be changed.
- Fields set to Visible will be included in the application form. Uncheck the Visible option if you don’t want the field included.
- You can add an Info Tooltip to a form field with additional information to help the portal user. Click the Edit button and enter text to add a tooltip. Hover over the “i” icon to preview what it will look like.
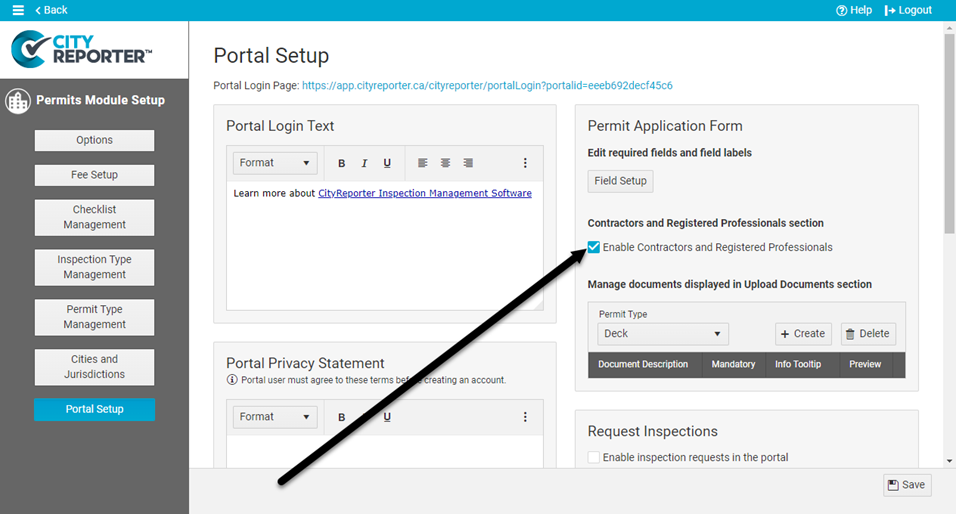
3. Enable Contractors and Registered Professionals to include that section in the application form. It allows portal users to pick from a list of contractors and registered professionals. This list is set up under Permit Management > Contacts (see our tutorial How To Set Up Contractors and Registered Professionals).
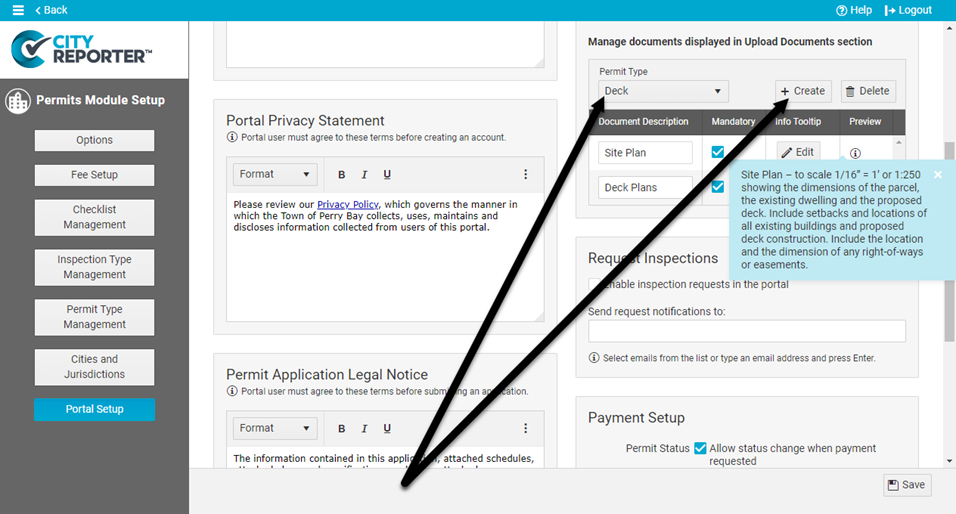
4. Manage what documents are required for a permit application by selecting a Permit Type and clicking Create.
- Enter a Document Description indicating the type of document needed.
- Enable the Mandatory option if the document must be uploaded before an application can be submitted.
- You can add an Info Tooltip with additional information about the document to help the portal user. Click the Edit button and enter text to add a tooltip. Hover over the “i” icon to preview what it will look like.
Request Inspections
1. Enable inspection requests in the portal if you want to let portal users fill in a form to request an inspection for a specific day. The request is entered into the Scheduler based on the Default start times and duration for the Scheduler set under General Options (see above).
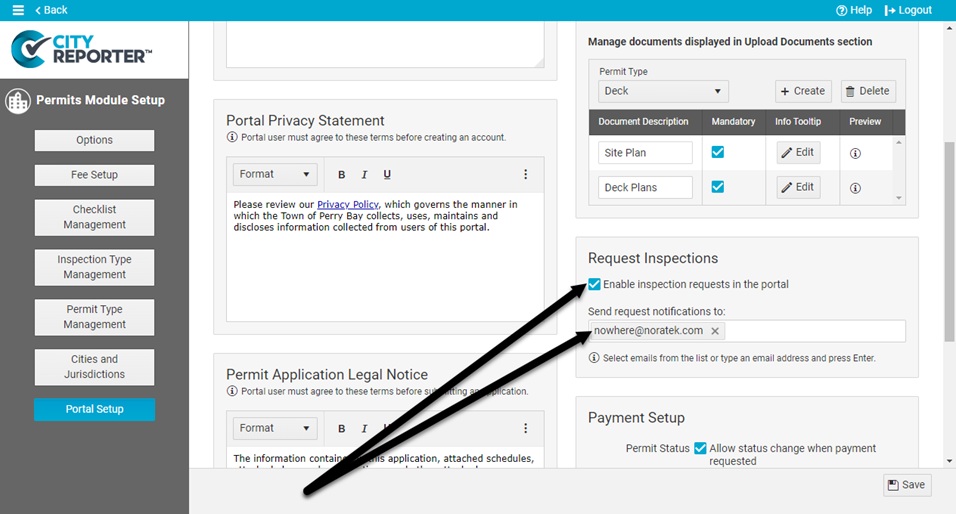
2. To be notified by email whenever an inspection request is made, enter one or more email addresses in the Send request notification to field.
Payment Setup
To accept payments through the CityReporter permit application portal, you must first set up an account with one of our supported payment gateways.
1. Select a Payment Gateway from the dropdown and enter the account information provided by your payment processor. For compatibility with CityReporter, additional settings may be required in your payment gateway online account (see Payment Gateway Settings for the Permit Application Portal for details).
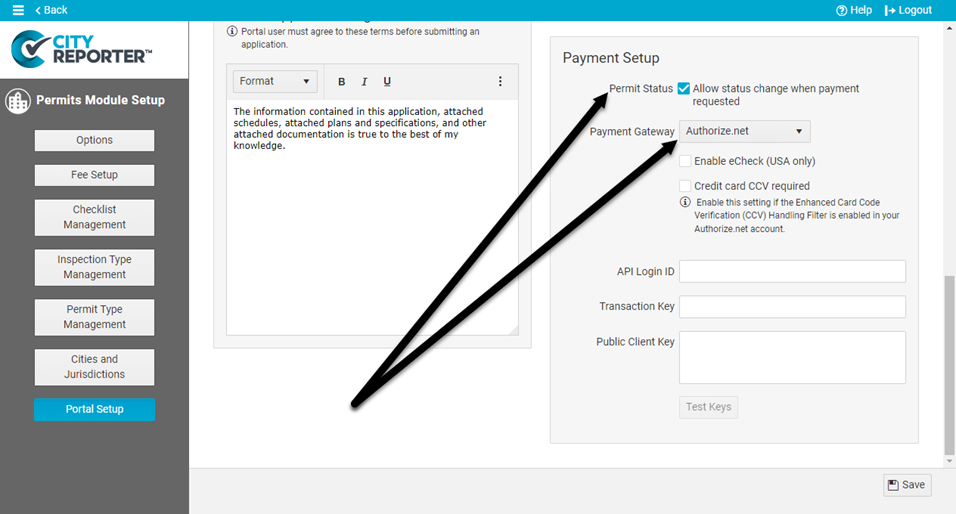
2. Enable Allow status change when payment requested if you want to be able to change a permit’s status when payment has been requested through CityReporter but not paid yet. If this option is disabled, when you send a payment request, the status of the permit cannot be changed until payment is received. For information on requesting payments, see our tutorial How To Accept Payments Through the Permit Application Portal.
Save Your Changes
Click Save at the bottom right of the screen to save your settings.
Accessing the Portal
Click the URL at the top of the Portal Setup screen to open the portal login page. Your website administrator can use this same URL to post a link to the portal on your city website.
