You have two different options for setting up recurring inspections, and an option for manually setting the next inspection date. Also see our tutorial on How To Set Different Inspection Intervals For Forms.
The next inspection date feature is available in the following modules:
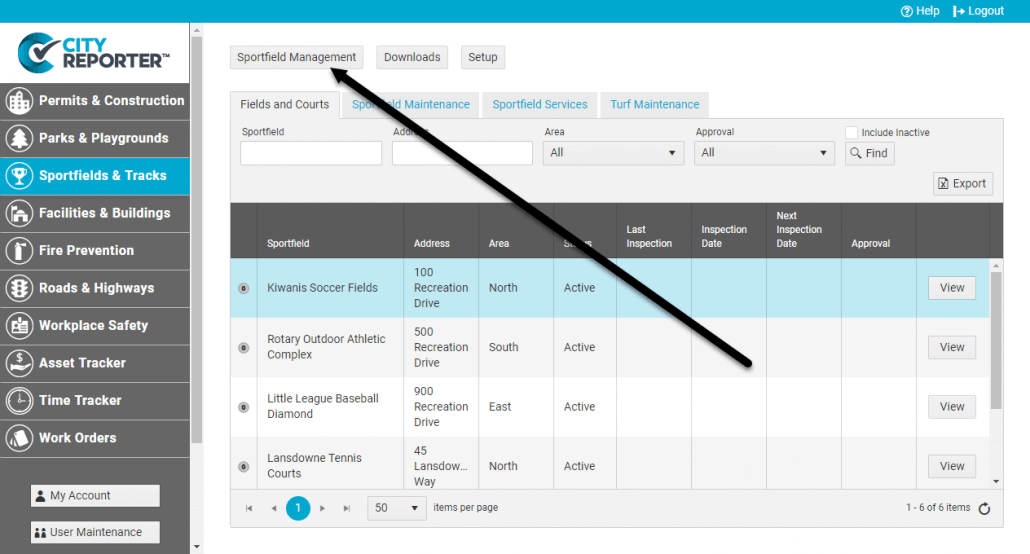
1. Log into CityReporter web using your city code, username, and password. Then select the Management button at the top of the screen.
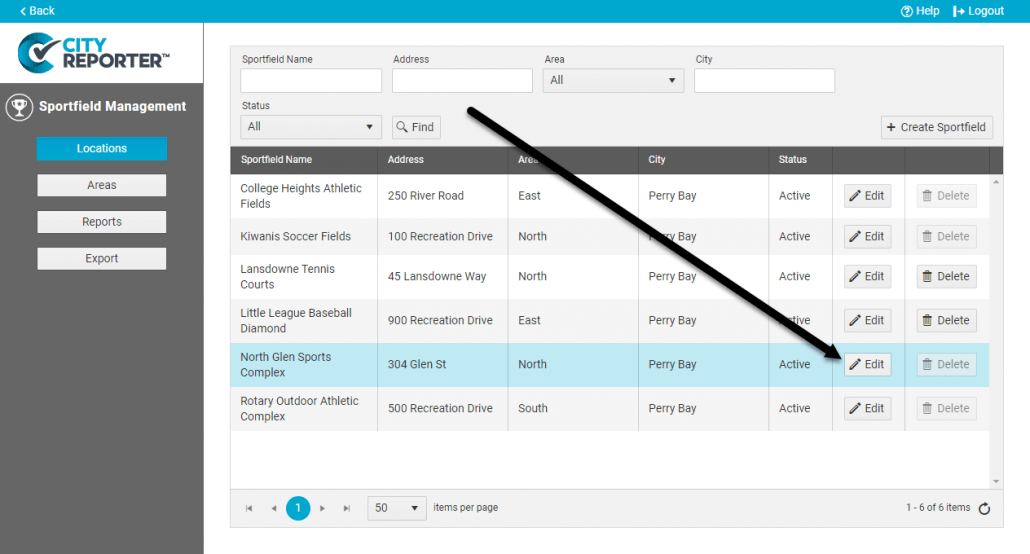
2. In the Management screen, find the location you would like to schedule an inspection for, and click the Edit button.
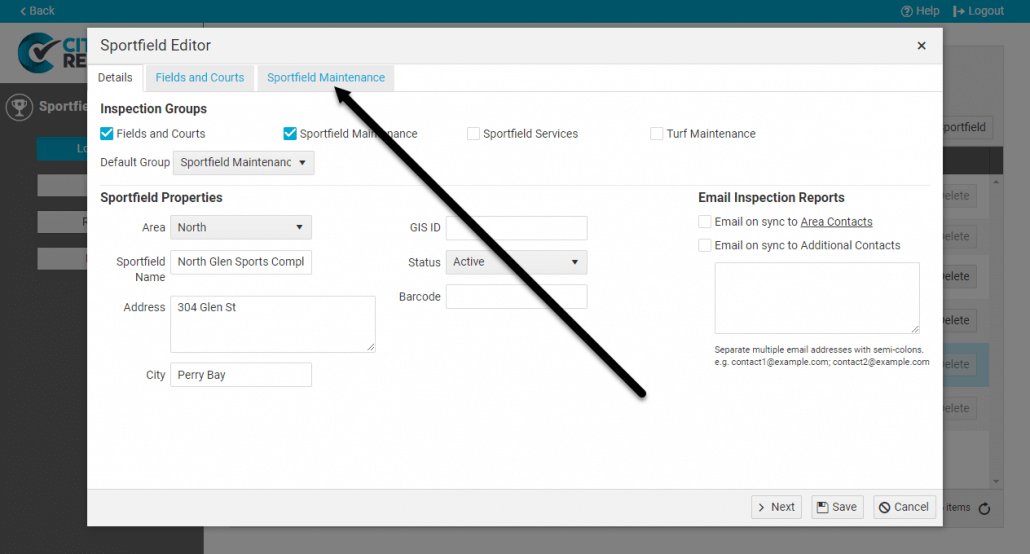
3. In the Editor dialog box, select the Inspection Group you would like to schedule.
4. Your first option for setting up recurring inspections is to set up a Default Inspection Interval, which will automatically set the next inspection date when completing your inspections.
To use this feature, enter the required number of days or hours between inspections and then click the Recalculate Dates button. All inspections that have been done previously will generate a Next Inspection Date according to your interval.
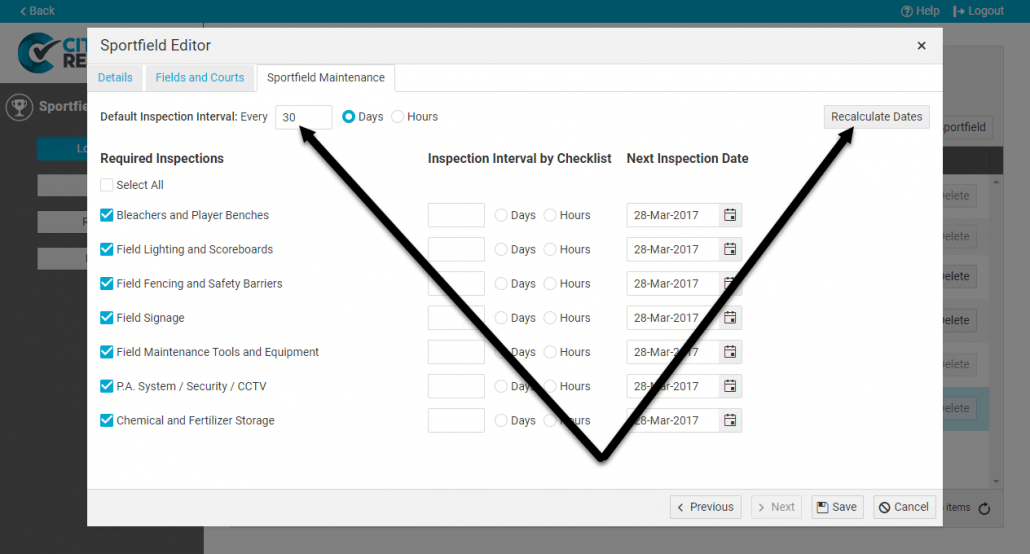
5. Your second option is to set up separate intervals for each form. Enter the number of days or hours next to the specific inspections. Forms without an individual interval will use the Default Inspection Interval if available. Select the Recalculate Dates button to update the Next Inspection Date on forms that have had an inspection completed previously.

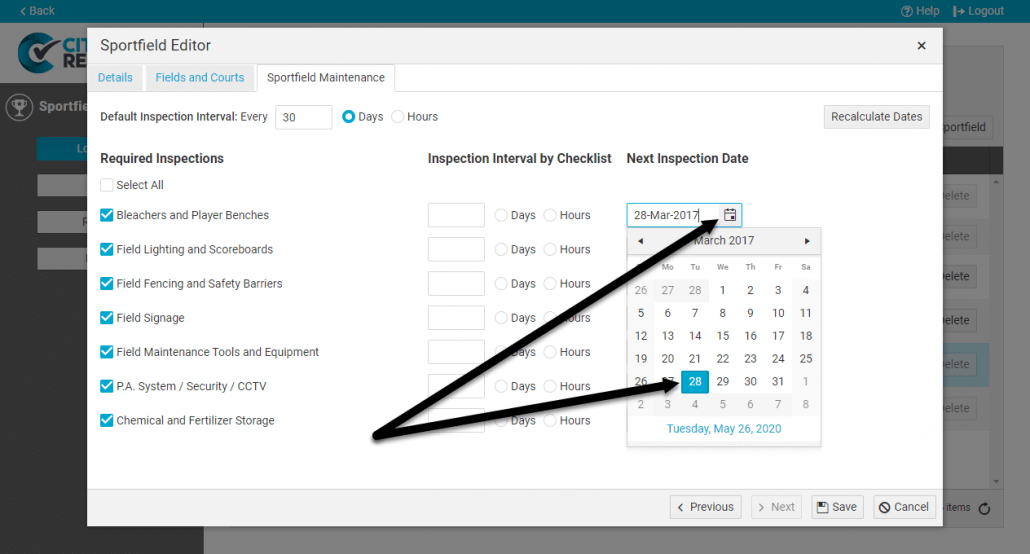
6. If a form has no previous inspections, you will need to manually set the Next Inspection Date. Click on the calendar icon and choose the date when you would like the first inspection to take place.
7. Once you are done scheduling your inspections, click Save.
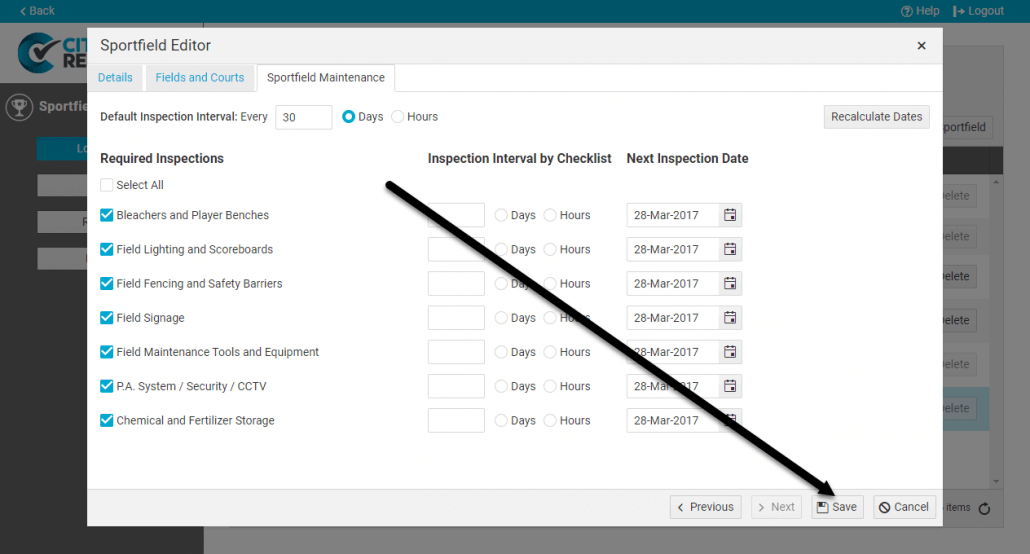
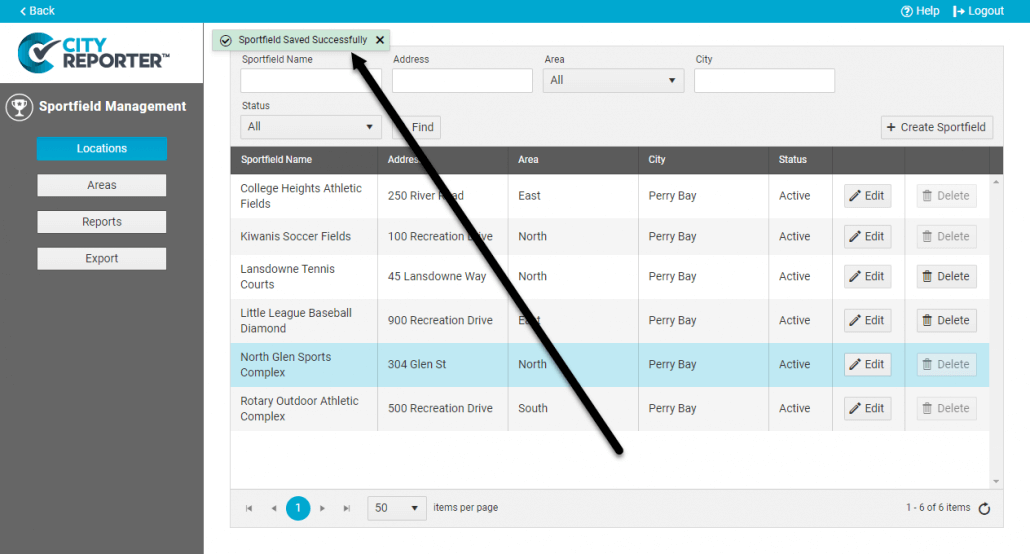
8. After saving you will see a message confirming it at the top of the page.